
Just got done installing the new shell from JSAUX! Had some pains to go through that I want to let you folks know about.
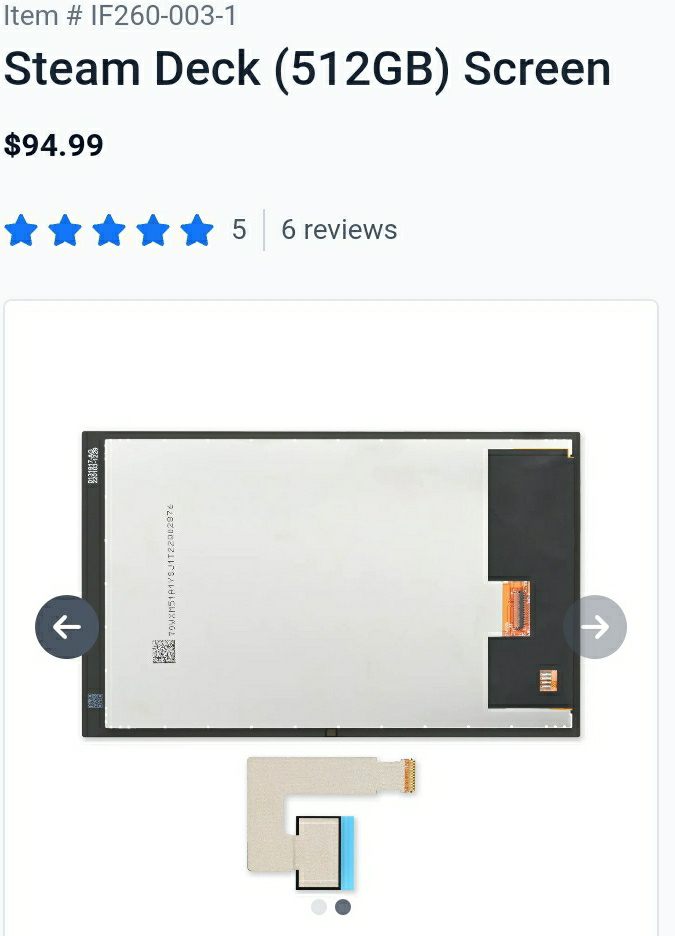
First and foremost, if you have the 512GB steam deck that comes stock with an anti glare screen, DO NOT pry from the side that JSAUX shows in their video. Pry from the other side. They are using the standard screen in that video.
For reference, if you look at the 512GB steam deck screen, and go to part only, and look at the rear-side image, there is a “buffer space” on the left side (opposite the ribbon cable) of the screen for prying under the adhesive (for whatever reason they have the screen upside down in the image). On the 64/256GB steam deck screen, the buffer space is on the right side, with the ribbon cable. If you try prying under the right side of the anti-glare screen, you immediately run into the ribbon cable and are likely to damage it. I just barely had to buy a brand new screen to finish this project because of this.

Second thing. When trying to pry the screen off the adhesive, it is very easy to completely slide your spudger directly in between the shell and the screen. You should reference where the positioning triangles are on your empty shell, and pry at one of those locations. It greatly simplifies removing the screen.

Lastly, when removing the triggers, do as shown in the video carefully. The hall effect sensors (tiny little chip on the board under the trigger magnet) used by each trigger on the board are very exposed. if you force one of the triggers off, you can easily knock that hall effect sensor off. I only noticed the little chip sitting on my desk during reassembly. I managed to hand solder the little guy back on and it ain’t a pretty job but it works.
Hopefully this hard-knock wisdom helps some of y’all avoid my mistakes.
Oh and here’s a pic of the girl after. Not sure why it didn’t show up on the post. Might’ve been too big a file.
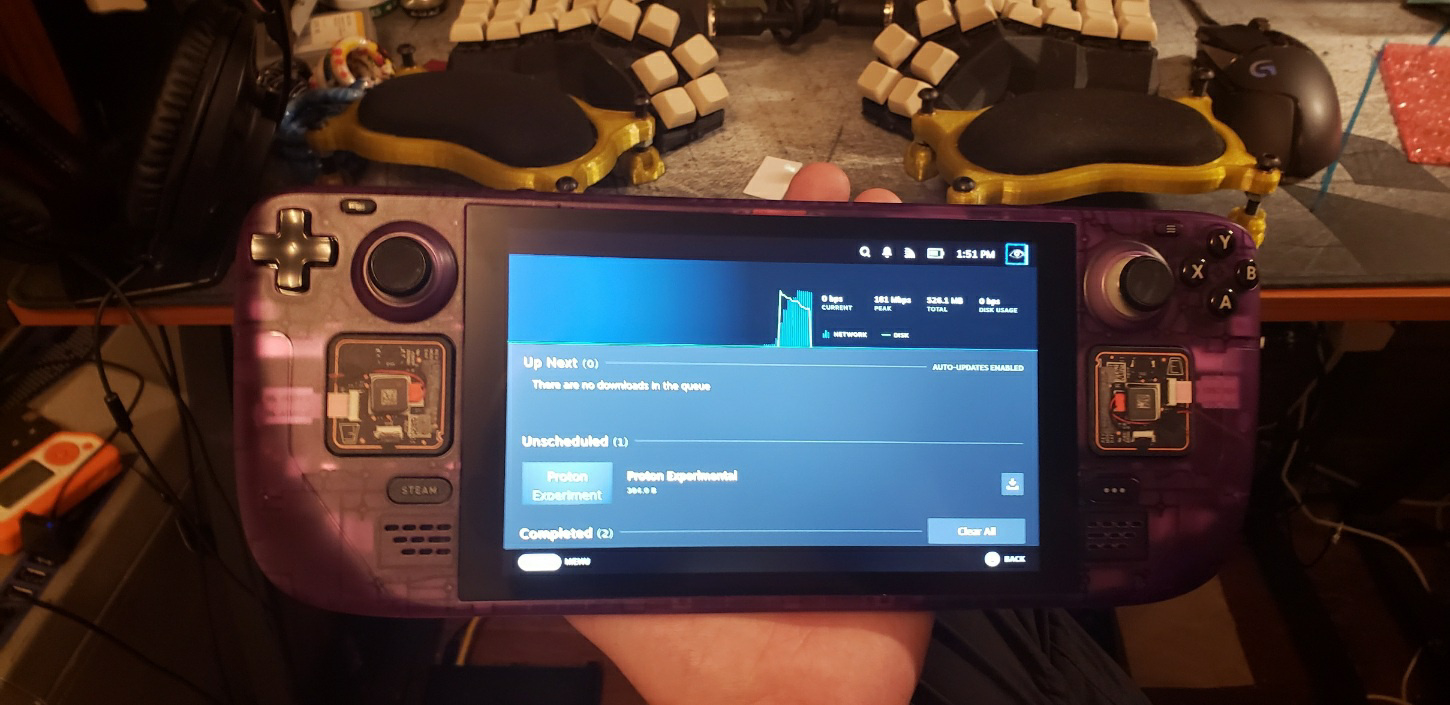
What kind of keyboard is that in the background? Looks pretty sick.
That’s a 4x6 dactyl manuform keyboard. It’s quite comfy if you’re used to touch typing.
Touch typing?
Doing god’s work. Much thanks, I will save this for later. Waiting on cryobyte33’s assessment of the monoblock before committing to the project. I have the dual type hall sticks ready to go and waiting too.
Interested in this, how does it fair so far? Is it comparable or better to the original? I was hoping there would be OLED screen mods at some point. Also maybe larger screen space as there’s a fairly large band around the original. I guess you don’t have any information what drivers it uses? I see it says “no driver required” so either the same as the original or another mainline Linux driver.
It’s all the original hardware of the original steam deck. You just pluck it out of the black shell and drop it into the clear one.
I can’t really tell any difference in performance. The build quality of the new shell seems to be identical in terms of feel.
There is a new screen project on the horizon, actually! DeckHD
I have not seen anything for a new shell for supporting a larger OLED, though.
I saw the deckhd announcement before but I feel like an oled and/or variable framerate display with otherwise same as stock specs would be better. I guess some games could run on the deck at 1200p but most of the games I’ve been playing just barely hit 60 as is.
Pretty cool. I loved the transparent Gameboys as a kid. Might look into doing this as well
Appreciate the insight!

