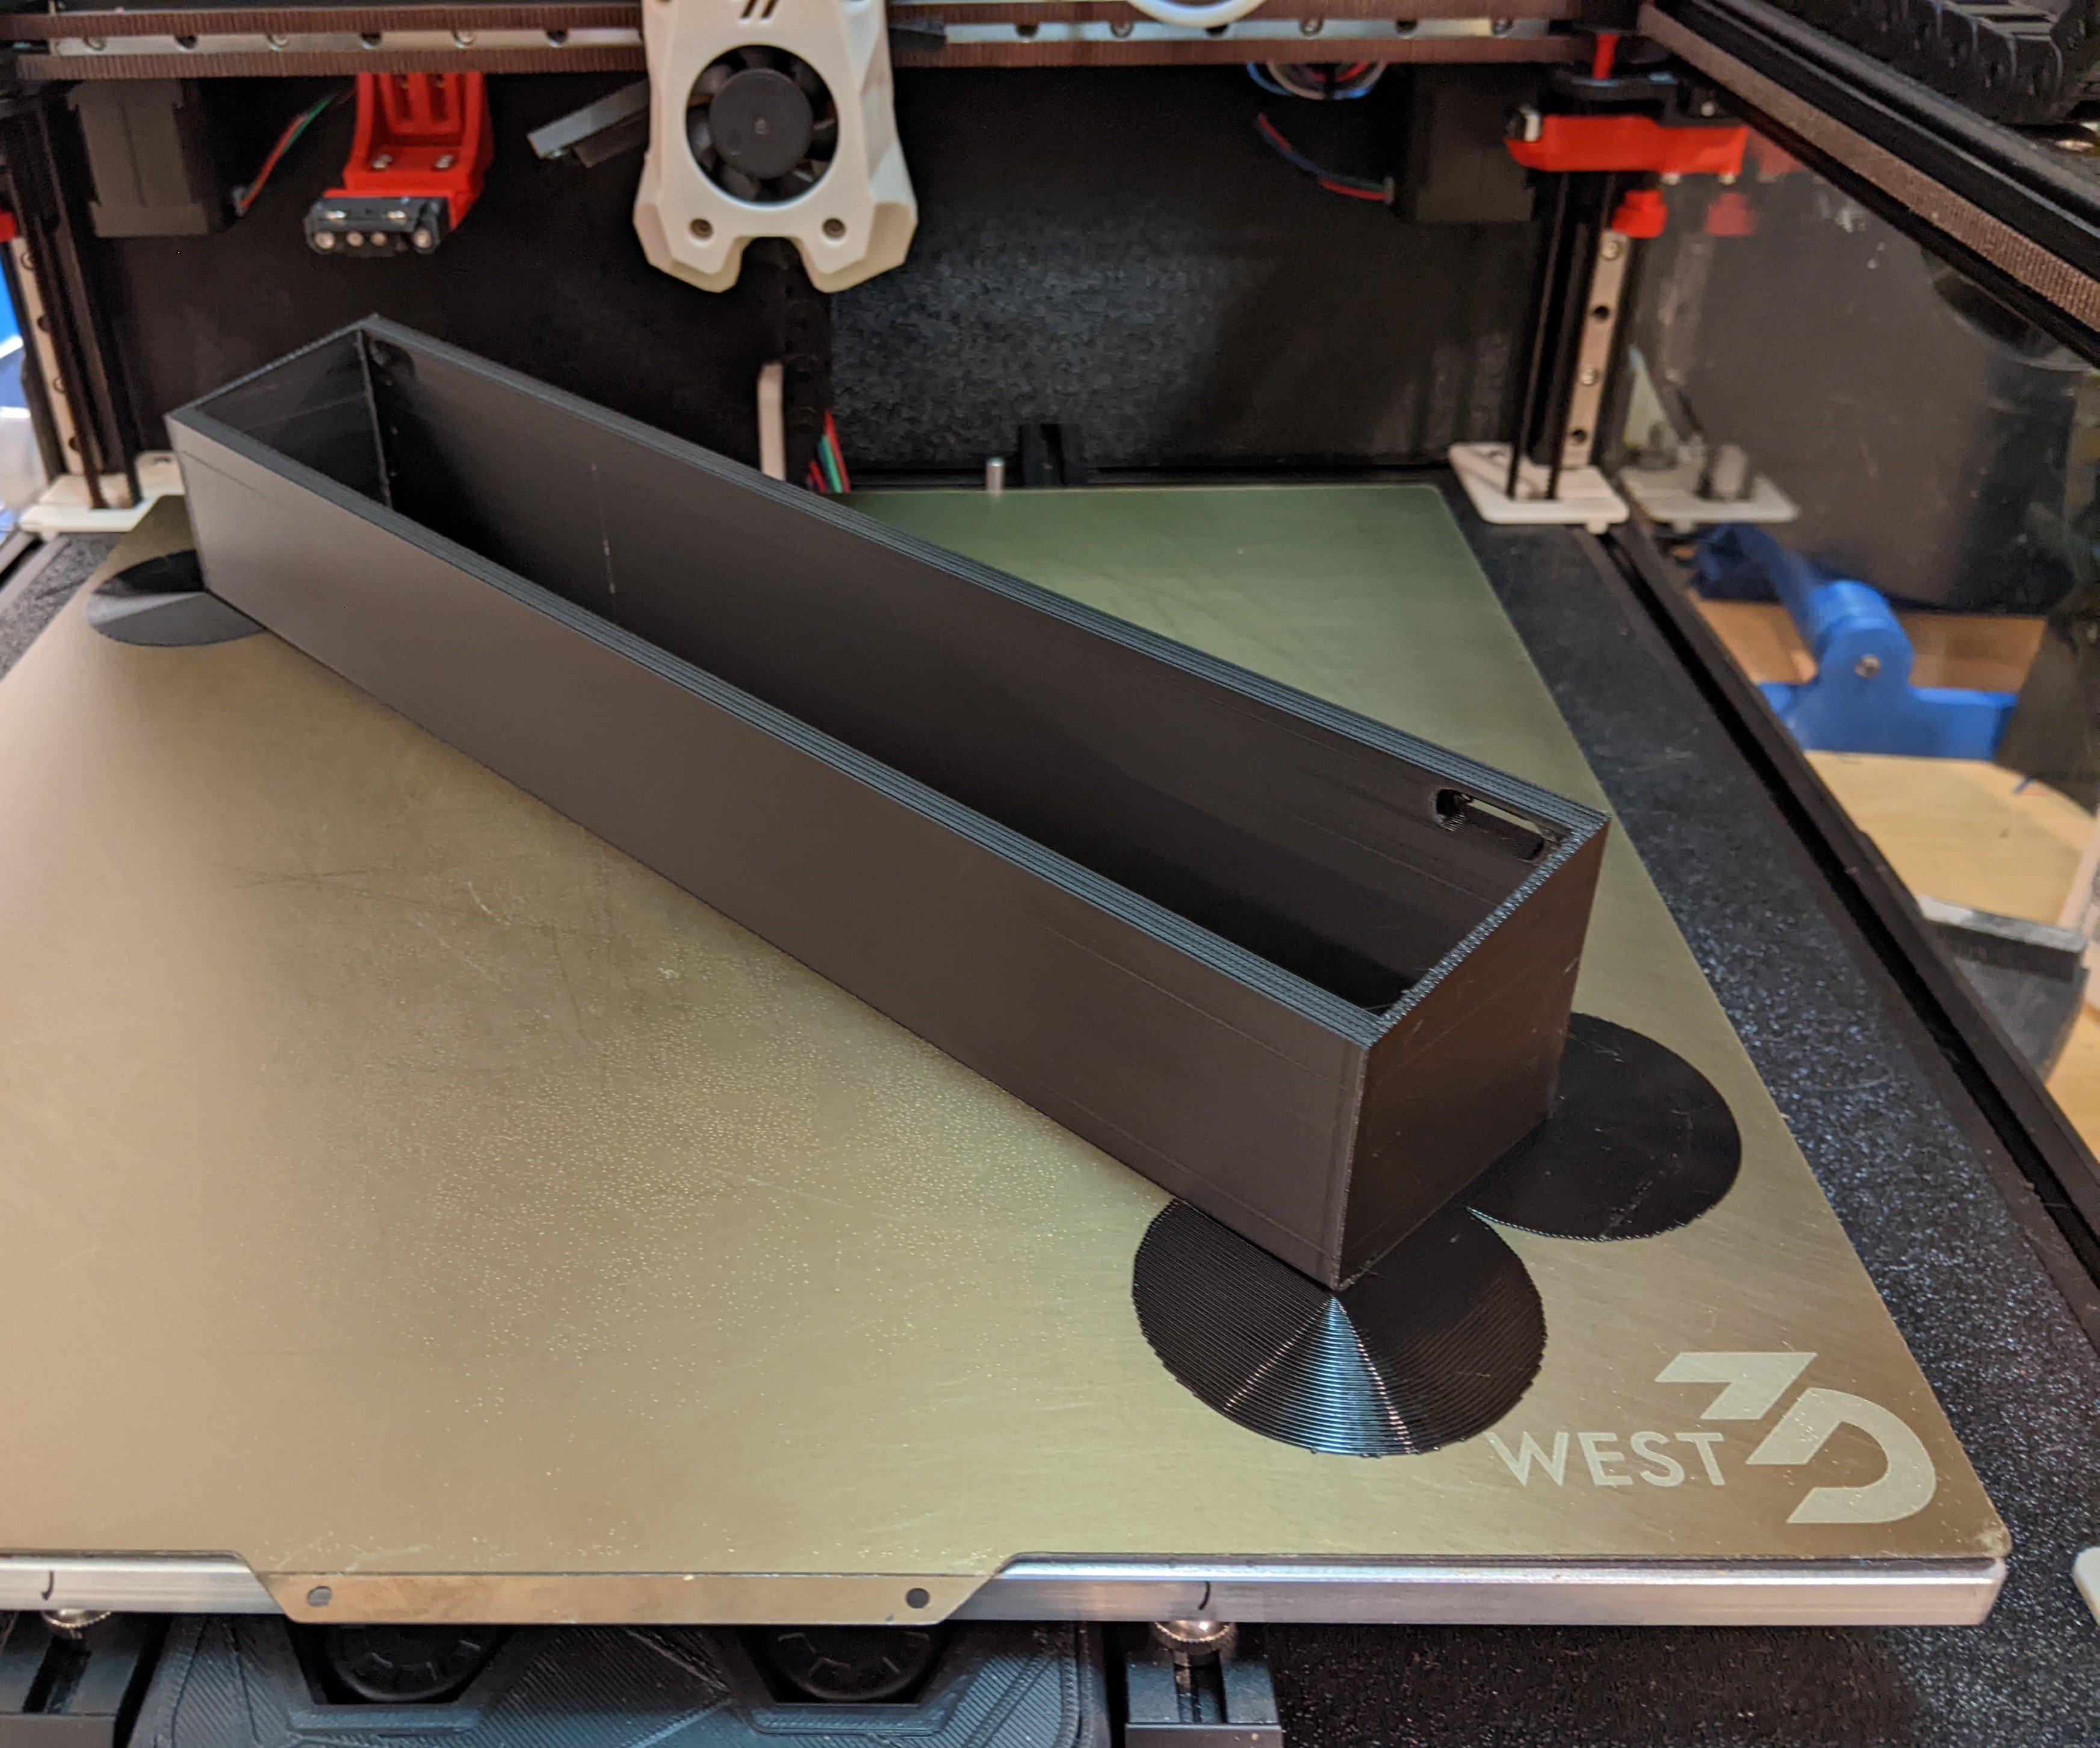
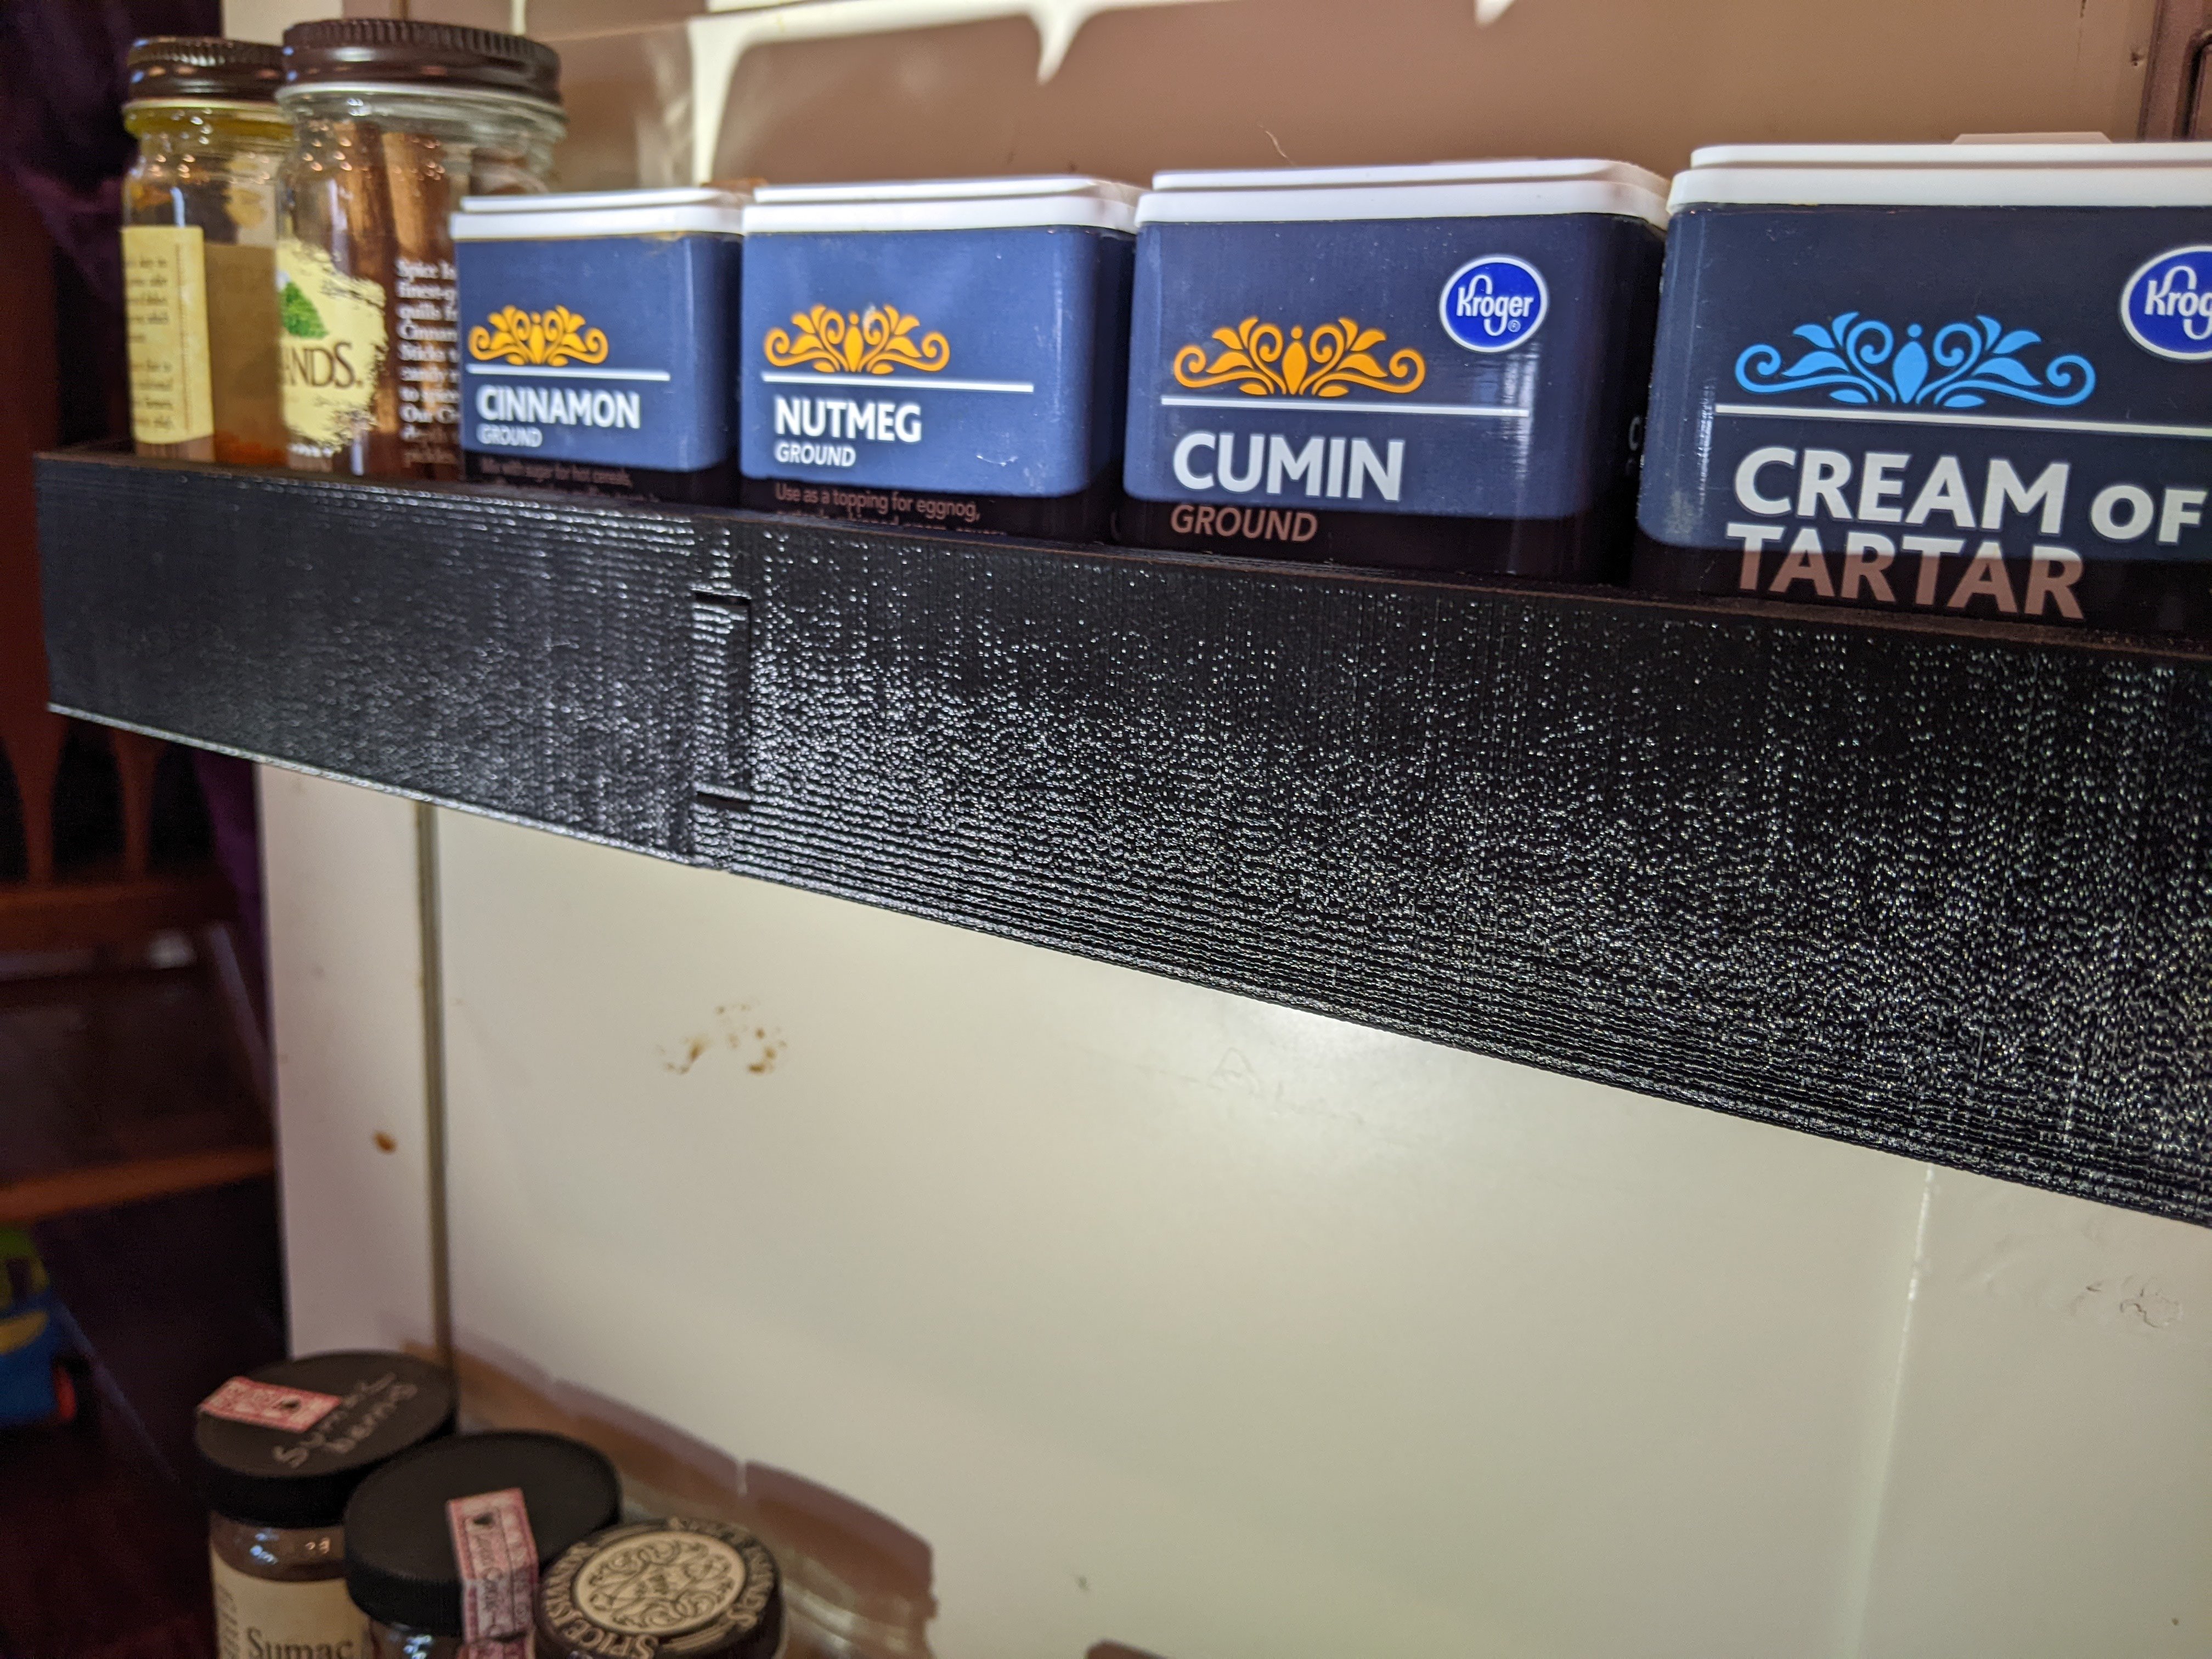
The part is a 345mm x 60mm spice rack that mounts to the inside of our pantry door.
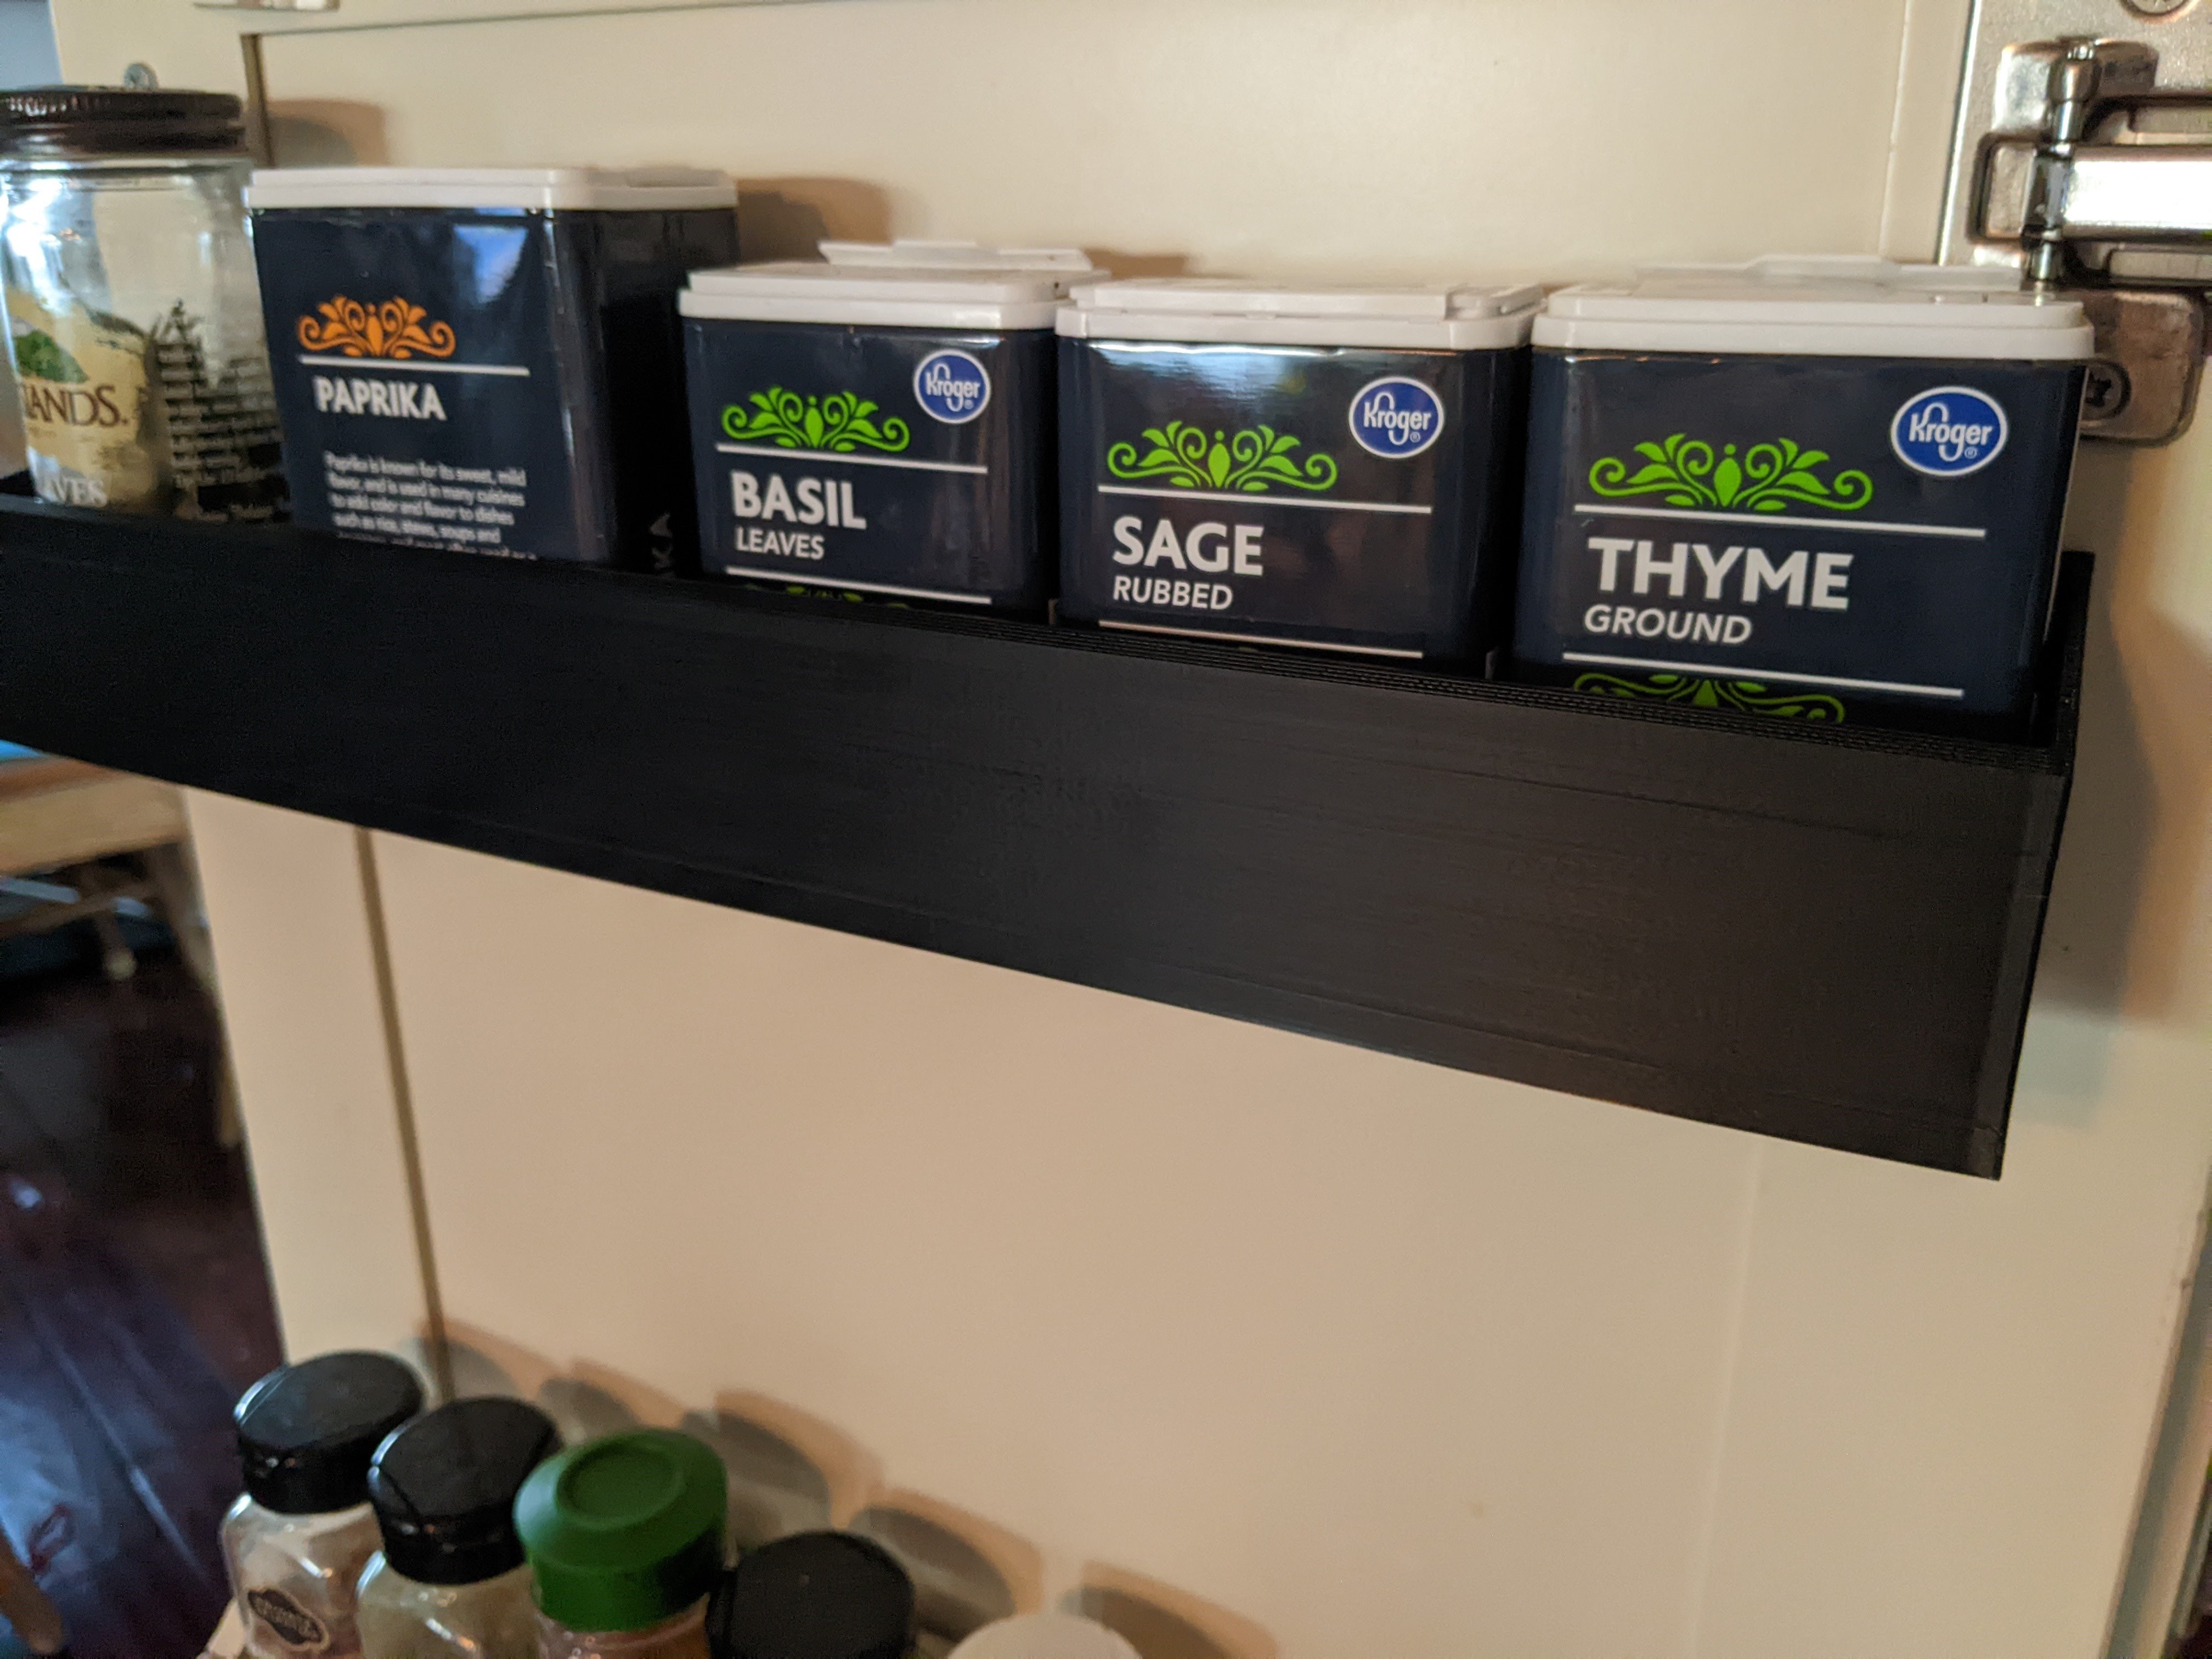
About 7 years ago, I made four spice racks out of wood and painted them to match our cabinet door. Wear and tear (and kids) have resulted in them getting glued back together multiple times. I finally gave up, modeled the design, and have been printing replacements in PETG as they fail. So far they’ve been holding up a lot better. They’re also a touch deeper than my original wood design, so they can fit the round spice island containers more easily.
In the past, I had to print these in two halves on my i3 clone (a Monoprice Maker Select Plus, which is a rebadged Wanhao Duplicator i3 Plus). Now that I have a printer with a 350 mm^2 bed, I thought I would see if I could print the rack in one piece. My single ASA attempt was an epic fail due to warping, but the PETG print went very smoothly with very minor lifting. I’ve read others say PETG does not like enclosures, but I’ve printed a number of PETG parts with my Voron fully enclosed and they’ve come out very well. I struggled with PETG warping on larger parts with my unenclosed i3 clone.
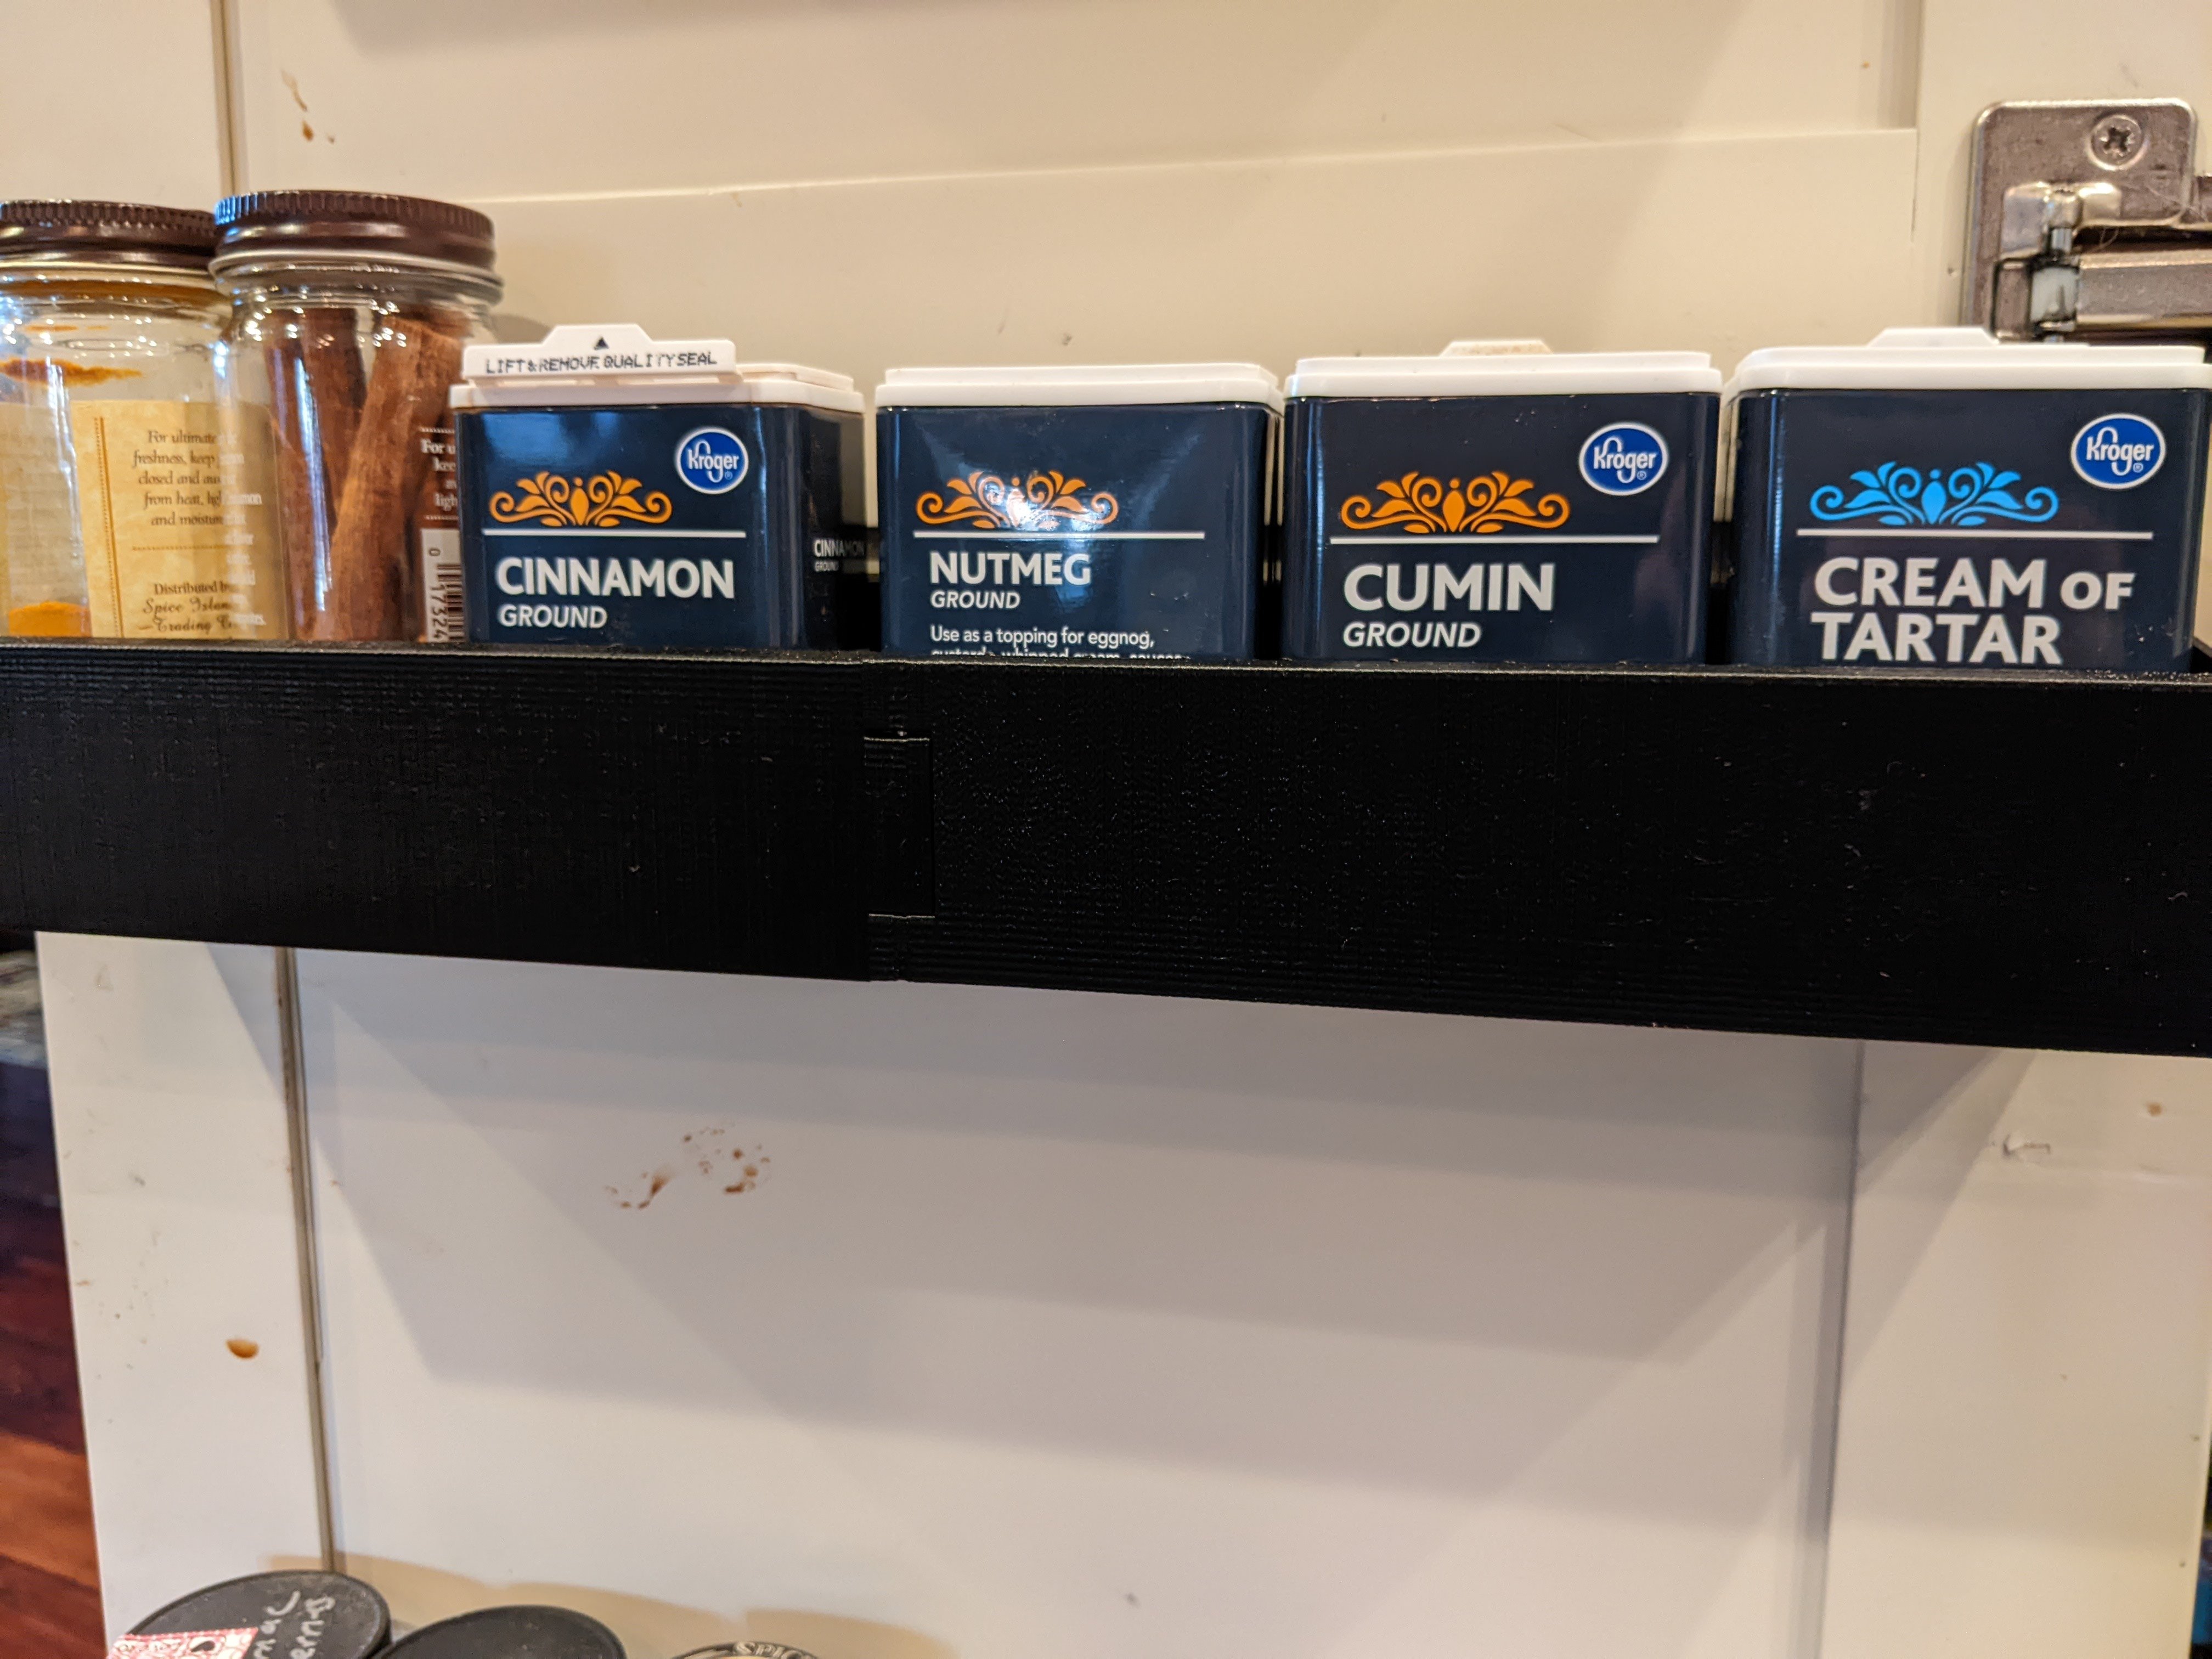
Here are a few photos comparing a rack I printed on my i3 clone to this one. The print quality is quite a bit better, but now that I have a higher ceiling to shoot for I’m realizing I have a further to go on my tuning journey. I will say that I never noticed things like the Slic3r buldge, that’s also present in Super Slicer, until now.
I personally find it helpful to see other’s prints under unflattering lighting, so with that said…
Somewhat flattering lighting (eg ambient)
Voron:
i3 clone:
Direct light, provided via a flashlight, perpendicular to the surface
Voron:

I3 clone:
direct light, provided via a flashlight, nearly parallel with the surface
Voron:

i3 clone:

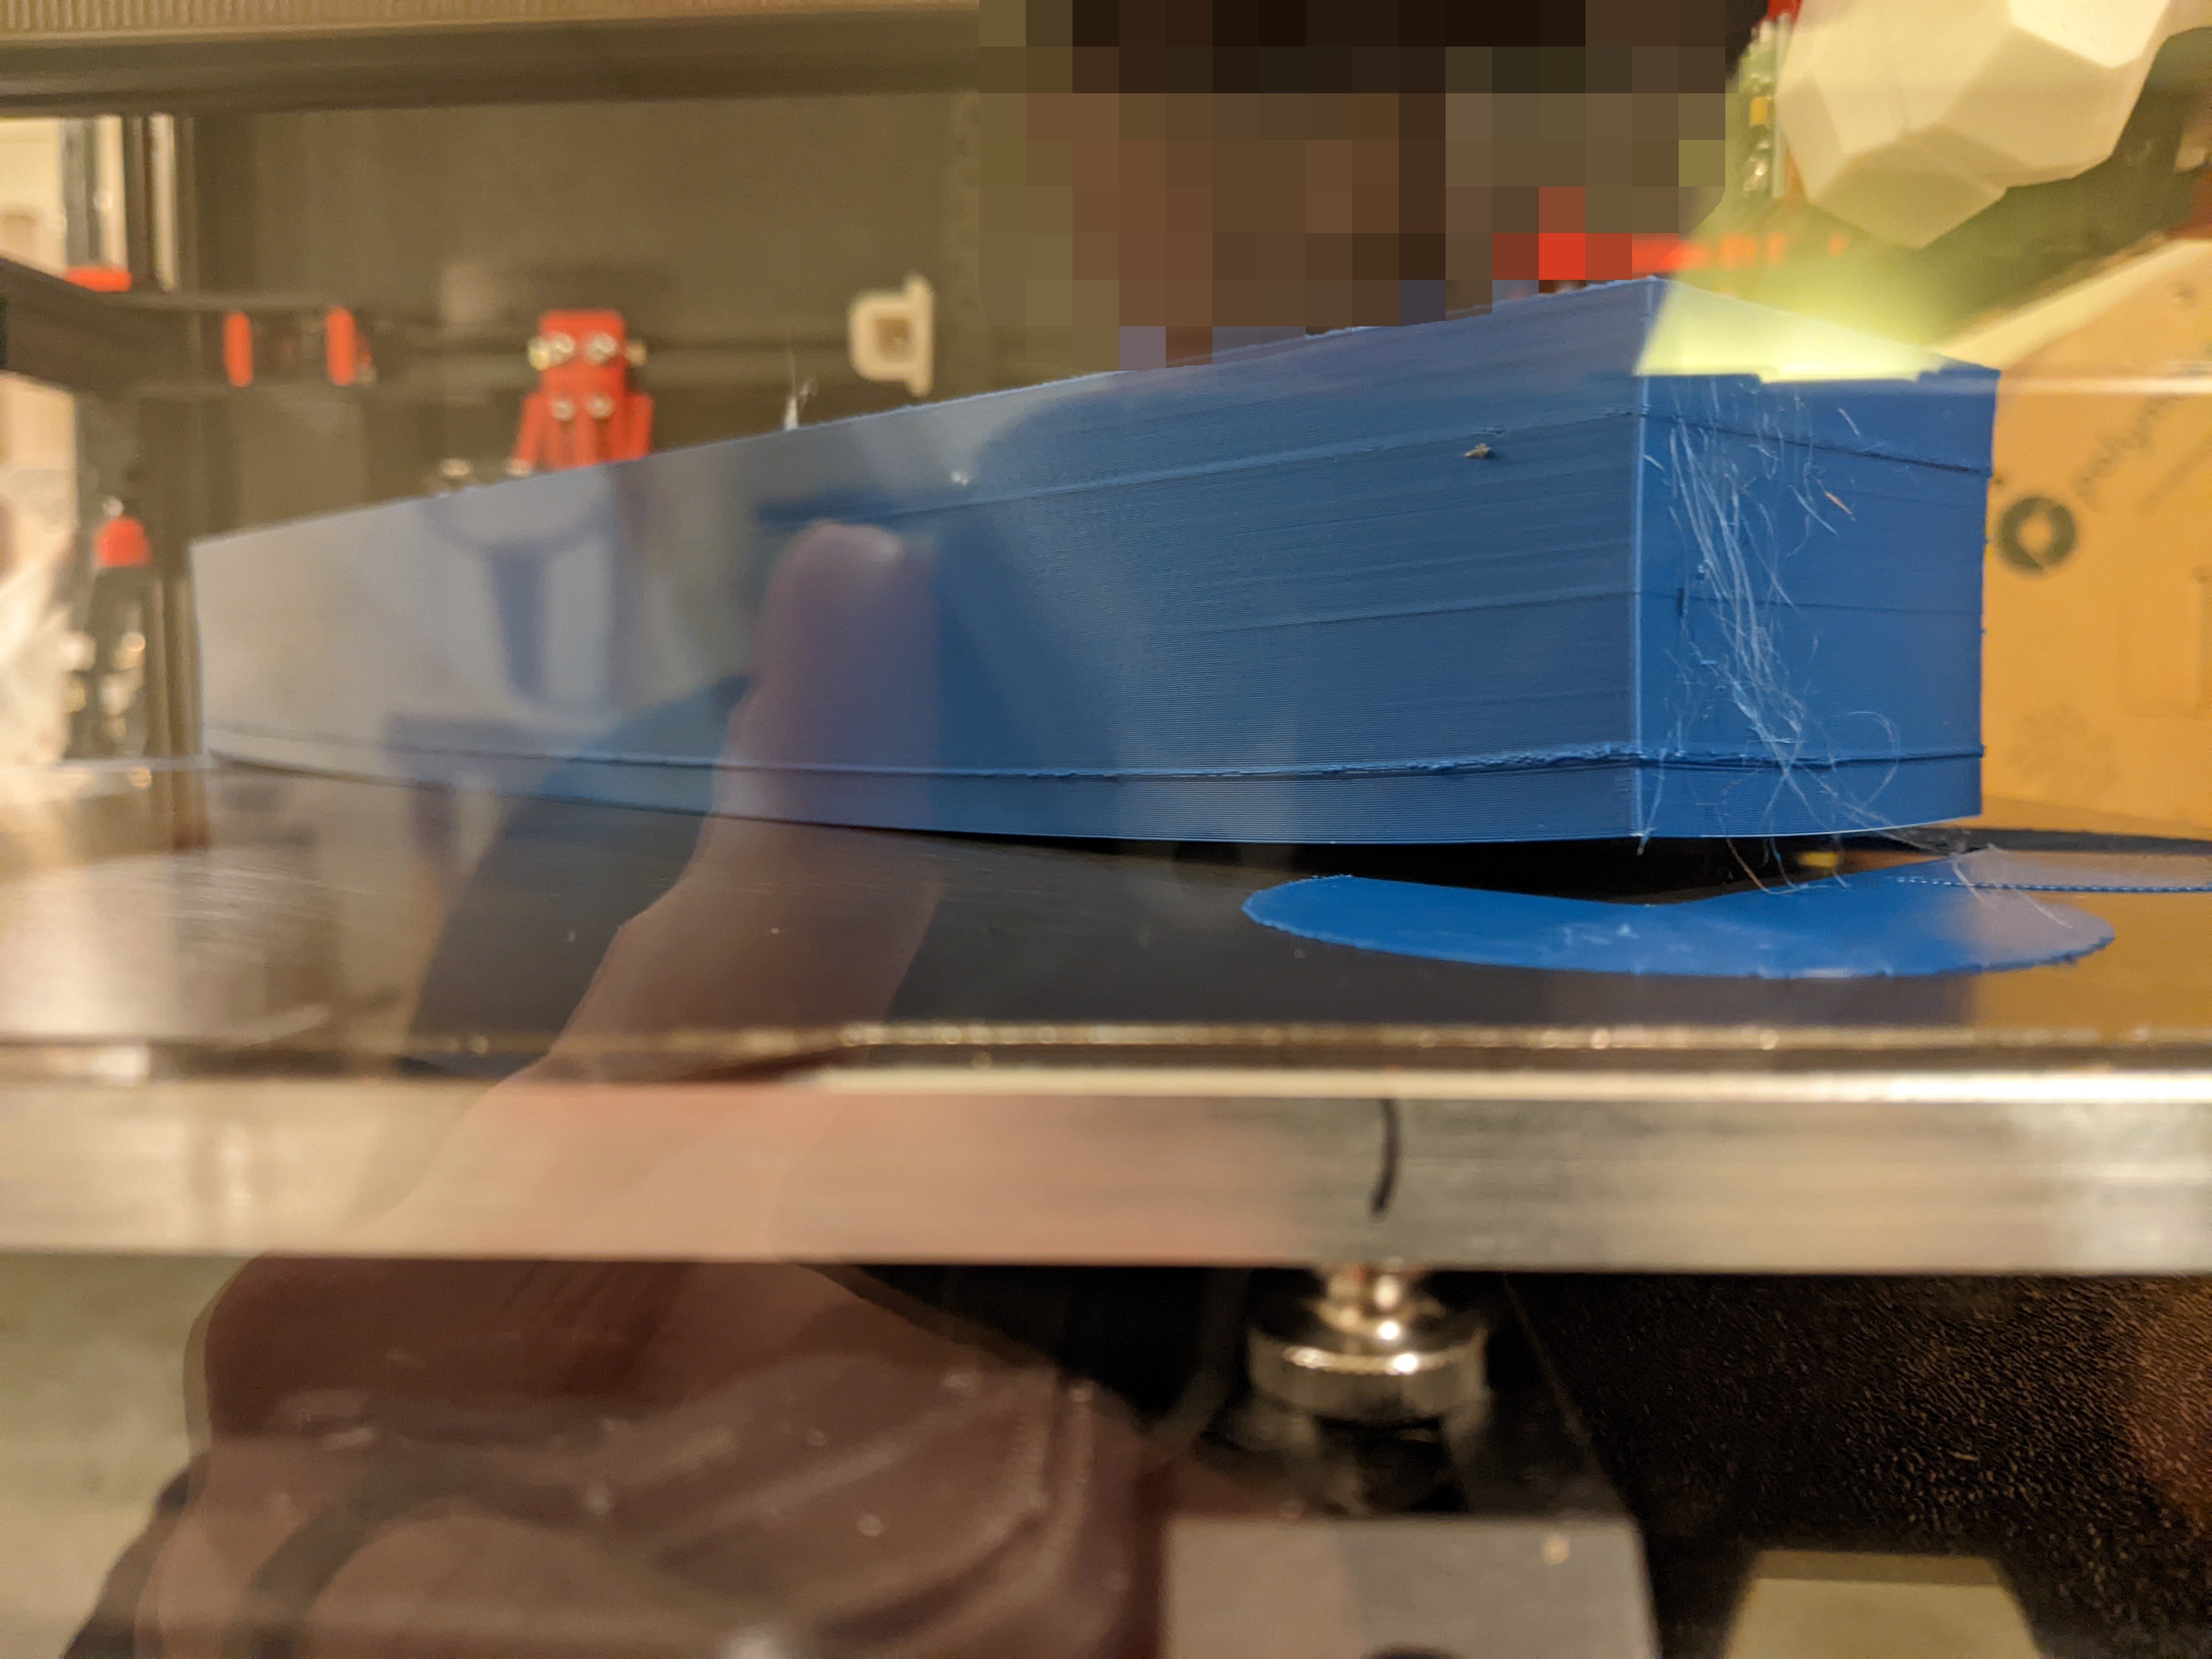
Bonus photo of my ASA attempt
Sadly, I forgot to change my print temp back from 250 to 240, so there’s quite a bit of wispy stringing. I suspect the print would have separated from the bed anyway. Any pointers here would be appreciated. The bed was clean (soap + water), was at 100, I let the printer heat soak for about 45 minutes with the filter going full tilt, first layer squish was solid good, smooth PEI (the textured side seems to have prints come loose more easily).
I am having the same problems as you with ASA (and ABS also). If the footprint is large I get warping. If the footprint is small, I get warping and also the friction from the nozzle rubbing on the top layers pushes the part loose from the sheet. So if you do try that, keep an eye on it!
I’ve tried Magigoo and that helped a bit. I ordered a Fabreeko “Honey Badger” sheet that some people online were raving about as solving all their problems. But I’m expecting I won’t actually solve the problem unless I have a somewhat heated enclosure.
I’m hoping to see something else to try in this thread, though!
I don’t have any problems with small parts. For example, I reprinted my Stealthburner with zero issues. I’ve done some larger parts as well, but I designed those to be easier print with large radius corners.
I’ve mulled over the same PEI sheet, lol. Did you get smooth or textured? I have better adhesion on the smooth side of my current sheet.
I did some Stealthburner parts in ABS and everything came out okay but the one with the overhang never printed quite right for me, so it looks sloppy. I think the difference is that it had too much surface area, cooled, and warped. That’s what I’d be afraid of printing a box upside down, the heatbed has to compete against more air.
We must have found the same comment sections :) I’m going for a smooth one myself, I also saw better results on my current smooth sheet.
I didn’t have any issues with any of the stealthburner overhangs. There is the one bridge on stealthburner_printhead_rapido_rear_cw2 that’s not perfect, but it’s certainly good enough. Some pictures are here.
I ran into people on the Voron forums vouching for it. It sounds like there was a double sided honey badger offering at one point, but that’s no longer the case :( I wonder if buildtak would mind facing the bed from time to time…