What’s the point of this post?
We all love to dunk on M$ for repeatedly fucking up Windows, and we all love to recommend installing the superior OS, but there hasn’t been a guide on how to actually do so. My aim is to create a guide on how to actually install Linux so that every time M$ fucks up, people can link to this guide (or any other successive guide) on top of the usual dunking.
Note: This guide is tailored towards people who are using Windows devices.
Why Linux Mint?
- Linux Mint has a well-deserved reputation as the “newbie distro for people who came from Windows.”
- Linux Mint is based on Ubuntu, which is based on Debian, and all three distros combined have a wealth of information online owning to their popularity, meaning that there’s less obstacles in troubleshooting.
- Linux Mint owning to its Debian heritage isn’t cutting edge or bleeding edge, meaning there’s a greater focus on using what currently works.
Which version of Linux Mint?
https://www.linuxmint.com/download.php
Linux Mint comes in three main editions:
- Cinnamon (←pick this one)
- MATE
- Xfce
Pick Cinnamon since this edition is more modern and closely imitates the Windows desktop environment (DE) the most. The other two use DEs that consume less resources, but don’t mimic the look of Windows as much.
How to create a USB boot drive?
There are various ways of creating a USB boot drive:
- Rufus (easy and fooproof): https://rufus.ie/en/
- Ventoy (takes more work but you can add multiple ISO images to the boot drive): https://www.ventoy.net/en/index.html
Live session:
After creating your USB boot disk with Linux Mint Cinnamon Edition, you need to boot from your flash drive. The exact steps vary, but you essentially have to go to your BIOS and either change the boot order or specifically boot from your flash drive. Once there, you’ll come across a couple of screens before arriving at the Linux Mint desktop.
There’s a desktop icon that tells you to install Linux Mint, but you don’t have to do it yet. In fact, nothing’s stopping you from just running Linux Mint like this through the flash drive (there are entire Linux distro designed to be run from a flash drive like, but Linux Mint isn’t one of those). The live session is also good to catch any hardware issues like your wifi not working.
Actually installing Linux Mint:
It’s honestly pretty straightforward.
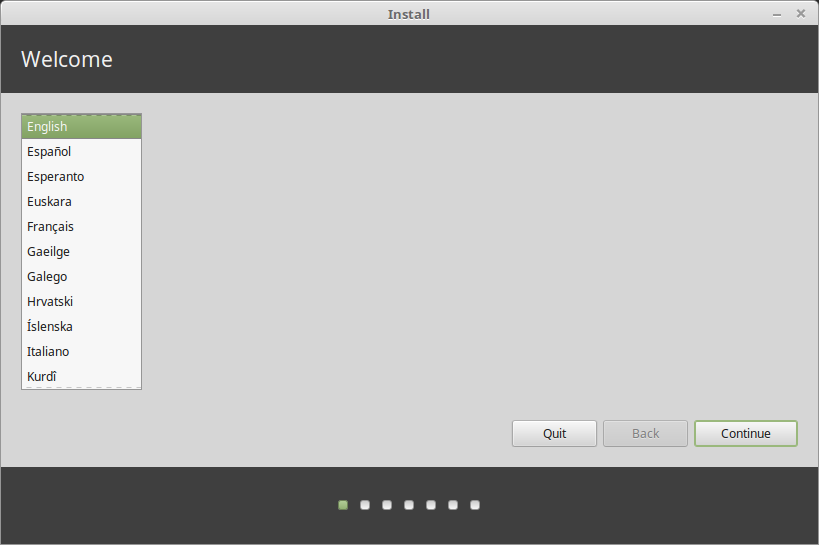
Pick the language you want, which will mostly likely be English.
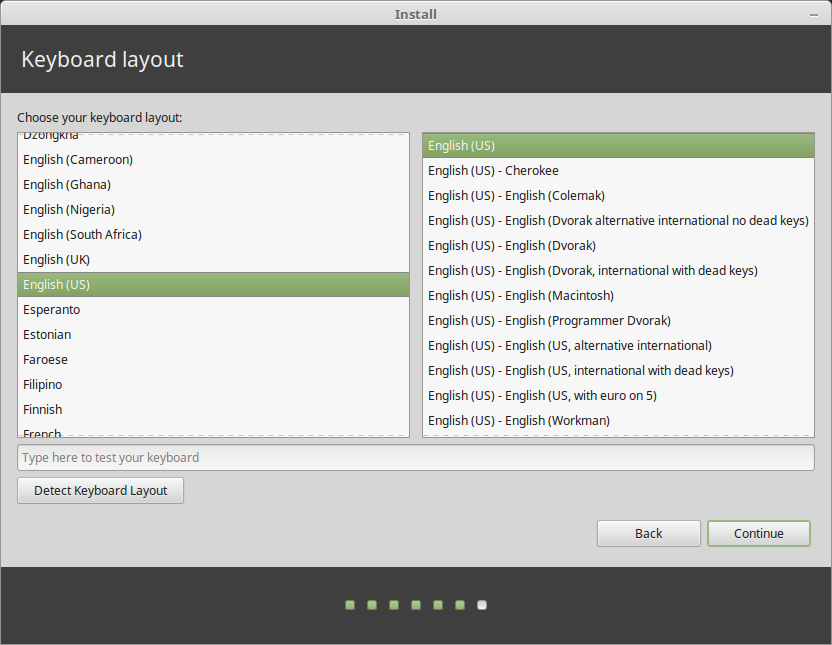
Pick the keyboard, which will mostly be what you’re already using.
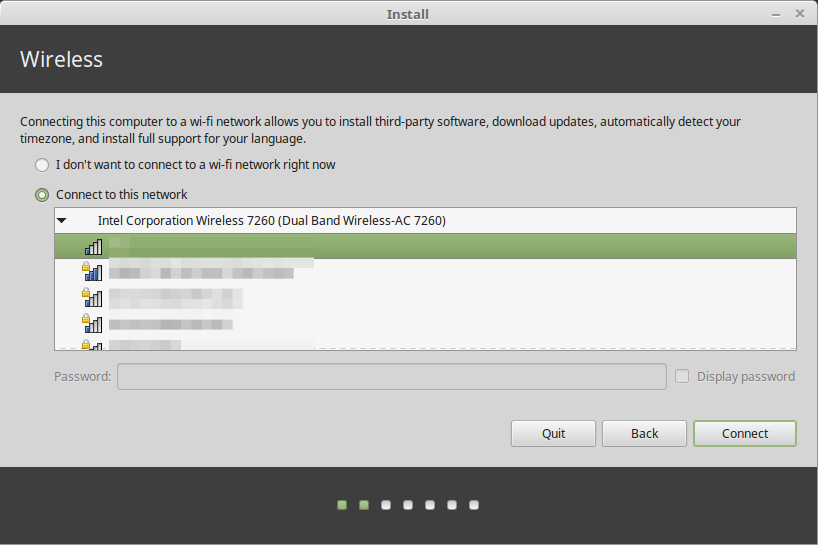
Connect online so Linux Mint will install the latest programs. You can skip connecting online, and Linux Mint will install the version of the programs that are in the iso image, but you’ll have to upgrade all those programs at once later.
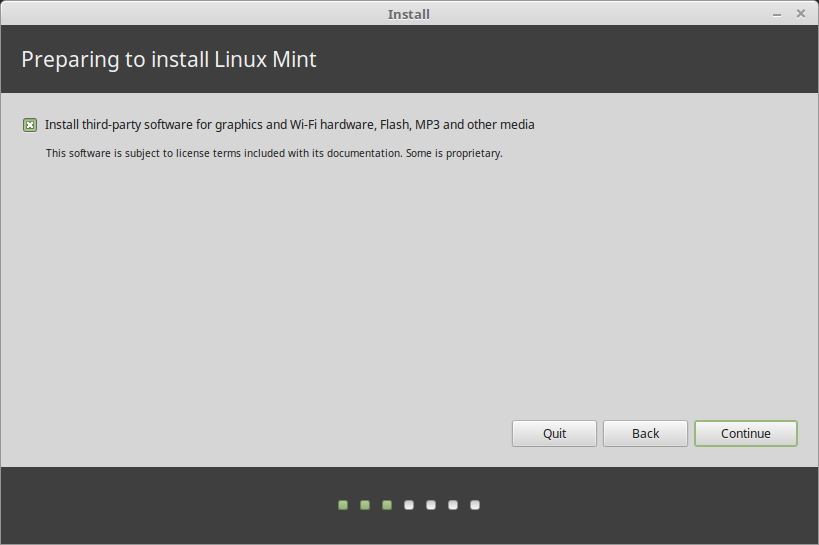
Check Install multimedia codecs. The codecs allow you to watch videos.
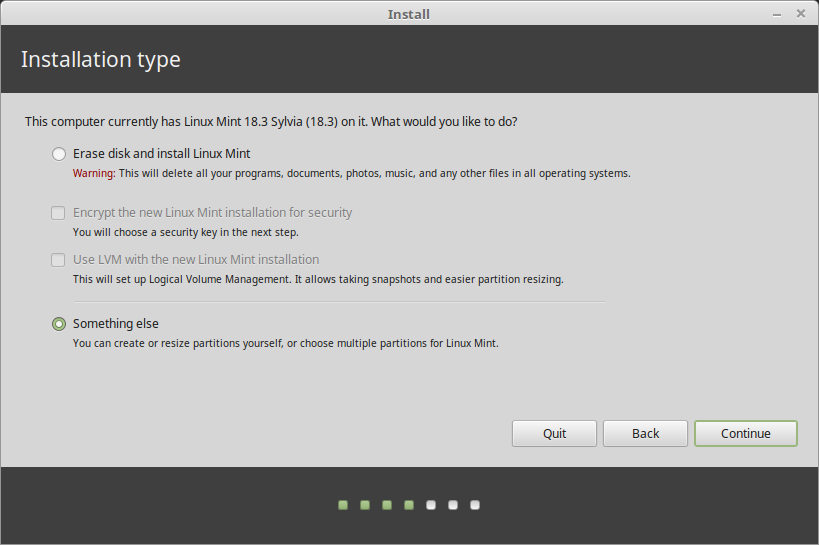
Unless you have some weird logical partition set up for your drive, just choose Erase disk and install Linux Mint, and let Linux Mint handle the partitioning. If your PC has multiple drives, I would suggest physically disconnecting the drives that you don’t want the installation to touch as a precaution. Obviously, do this while the PC is off.
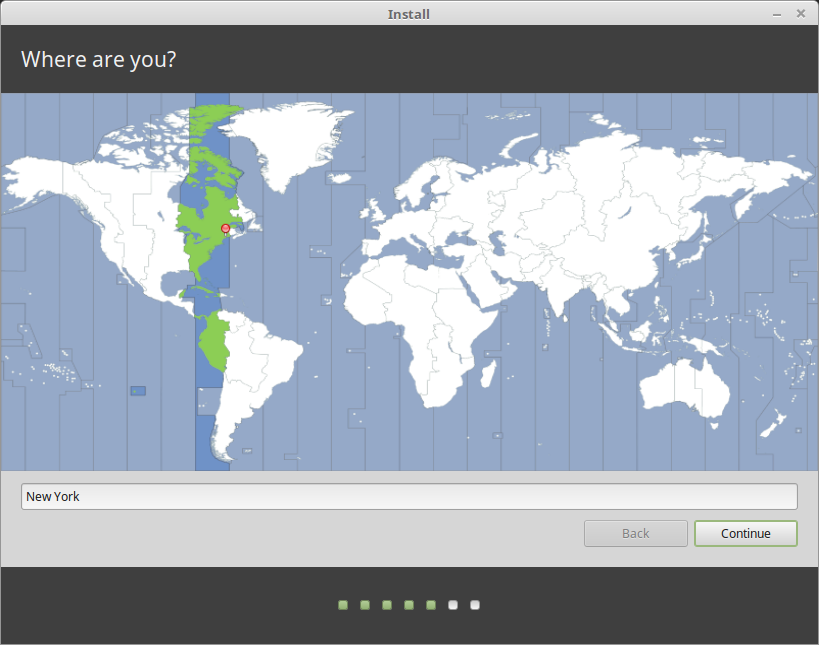
Pick the time zone you live in.
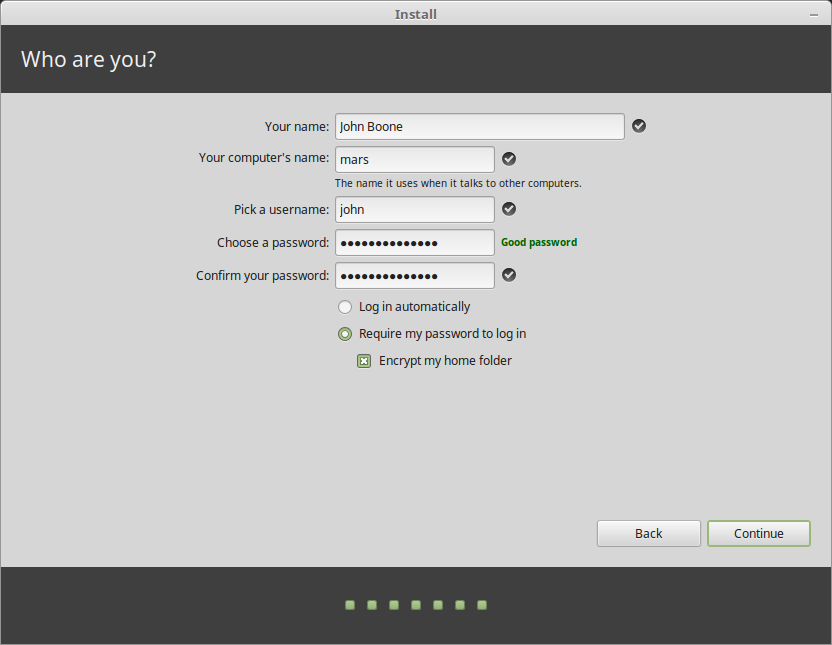
Set up your username, hostname, and password. It doesn’t have annoying password complexity restrictions on what password you want to use. Just pick any password.

This is a slideshow while installation is taking place.
Once installation is complete, Linux Mint will prompt you to reboot your PC. When you reboot your PC through that window, you will eventually get to a black screen with a prompt asking you to remove the USB boot drive and press Enter. Do so, and your PC will reboot to a fresh installation of Linux Mint.


I think the installation guide is actually quite good https://linuxmint-installation-guide.readthedocs.io/en/latest/
I used that guide as a template including using their screenshots although I made a few changes:
Their choice for setting up the USB boot drive is not as good although the big benefit of Etcher is that it’s available on MacOS. Rufus is Windows only while Mac devices like MacBooks will flip out if you try booting with Ventoy (I learned that the hard way when I was installing Fedora on an old MacBook).
Their guide is based on an older version of Linux Mint, and they changed some of the order and details since then. Not a biggie since you still have to input the same info in the end. I plan on changing the screenshots when Linux Mint 22 comes out.