

Yo guy noob here,
I have recently bought my self a sidewinder x2 as my first 3d printed, and I don’t know much about 3d printing for now, anyway to get a good understanding on how great I have calibrated the printer I have printed the usual benchy, but I have this spots on the print
(can’t embedded any images because of the lemmyshitpost drama)
Are they normal? And if not how can I fix them?
Well, hello fellow X2 owner. I’ve had mine for almost 2 years. Still tweaking settings, but I just swapped it over to klipper about 3 months ago. Still not going too fast with outer perimeters running 40mm/s. Inner perimeters at 80-90mm/s. Travel at 200mm/s, supports at 150mm/s. Still have a slight stringing issue with pla with small detail layers. But I’ll get you a picture later today of how my seams show up.
But yes, you can assign the position of your seams in most slicers. Basic settings are random, aligned, and back. (Most of the time these are in relation to print bed front/back, not object, so rotating the object can effectively ‘move’ the seam)
Also, most slicers have an option to paint on the seam.
Ok thank you for the response!
Here is an image of my seam line:
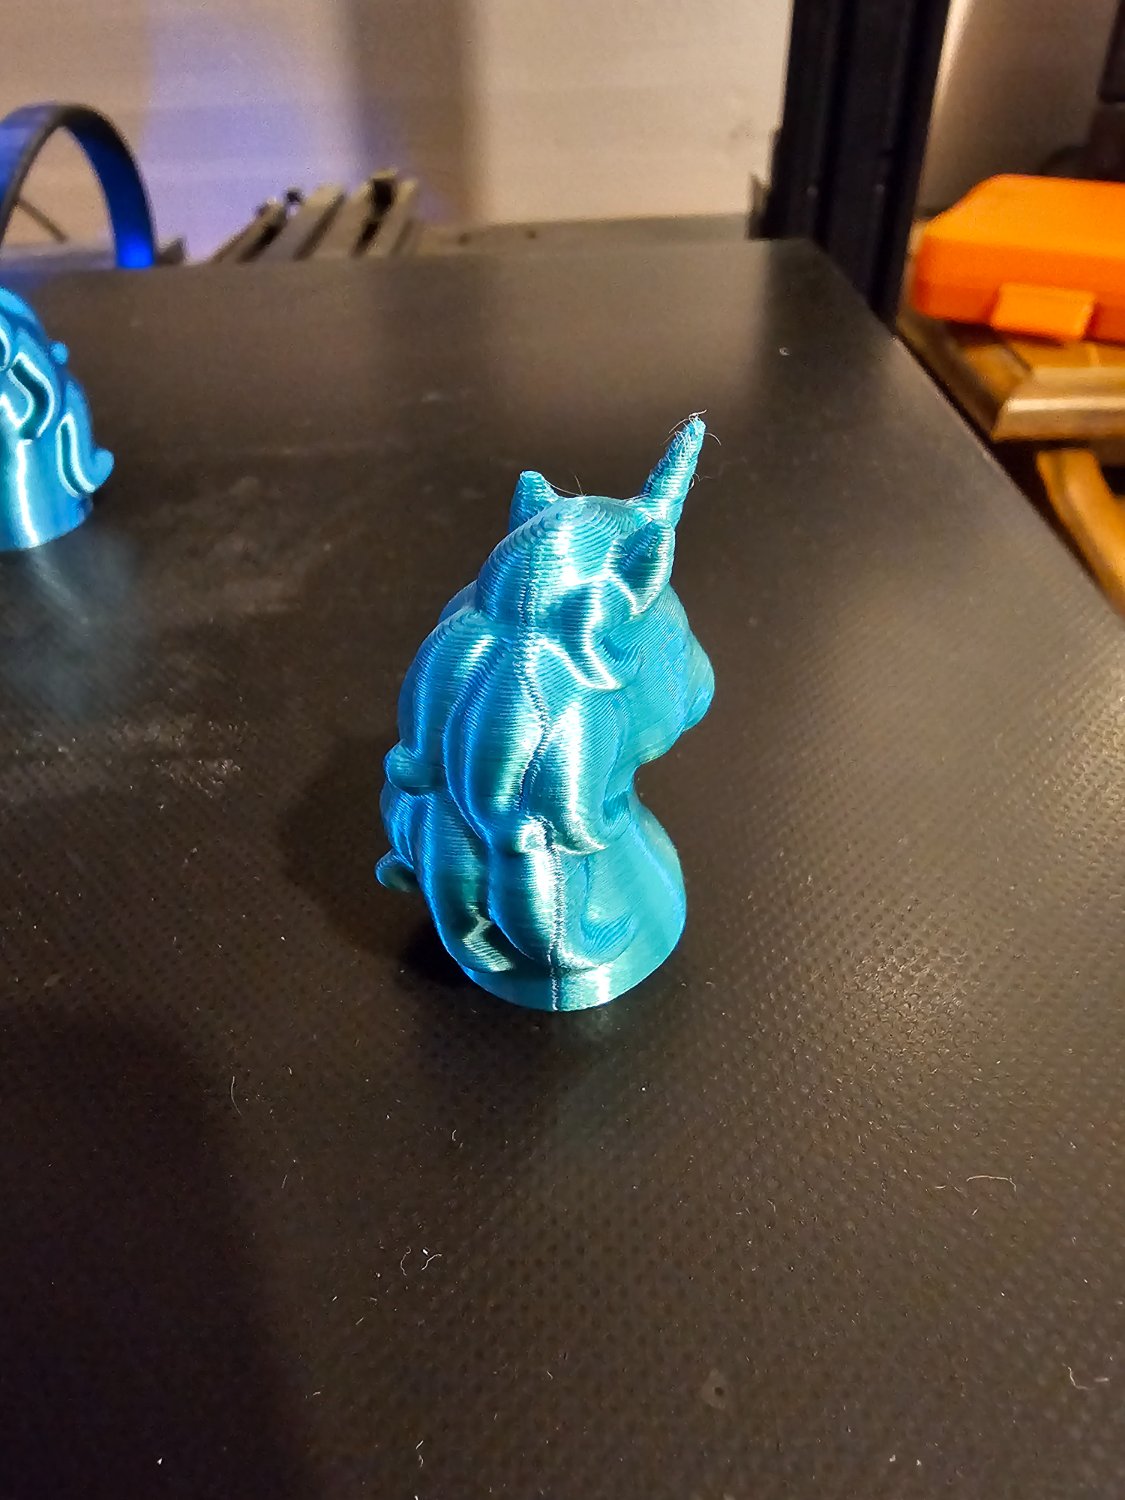
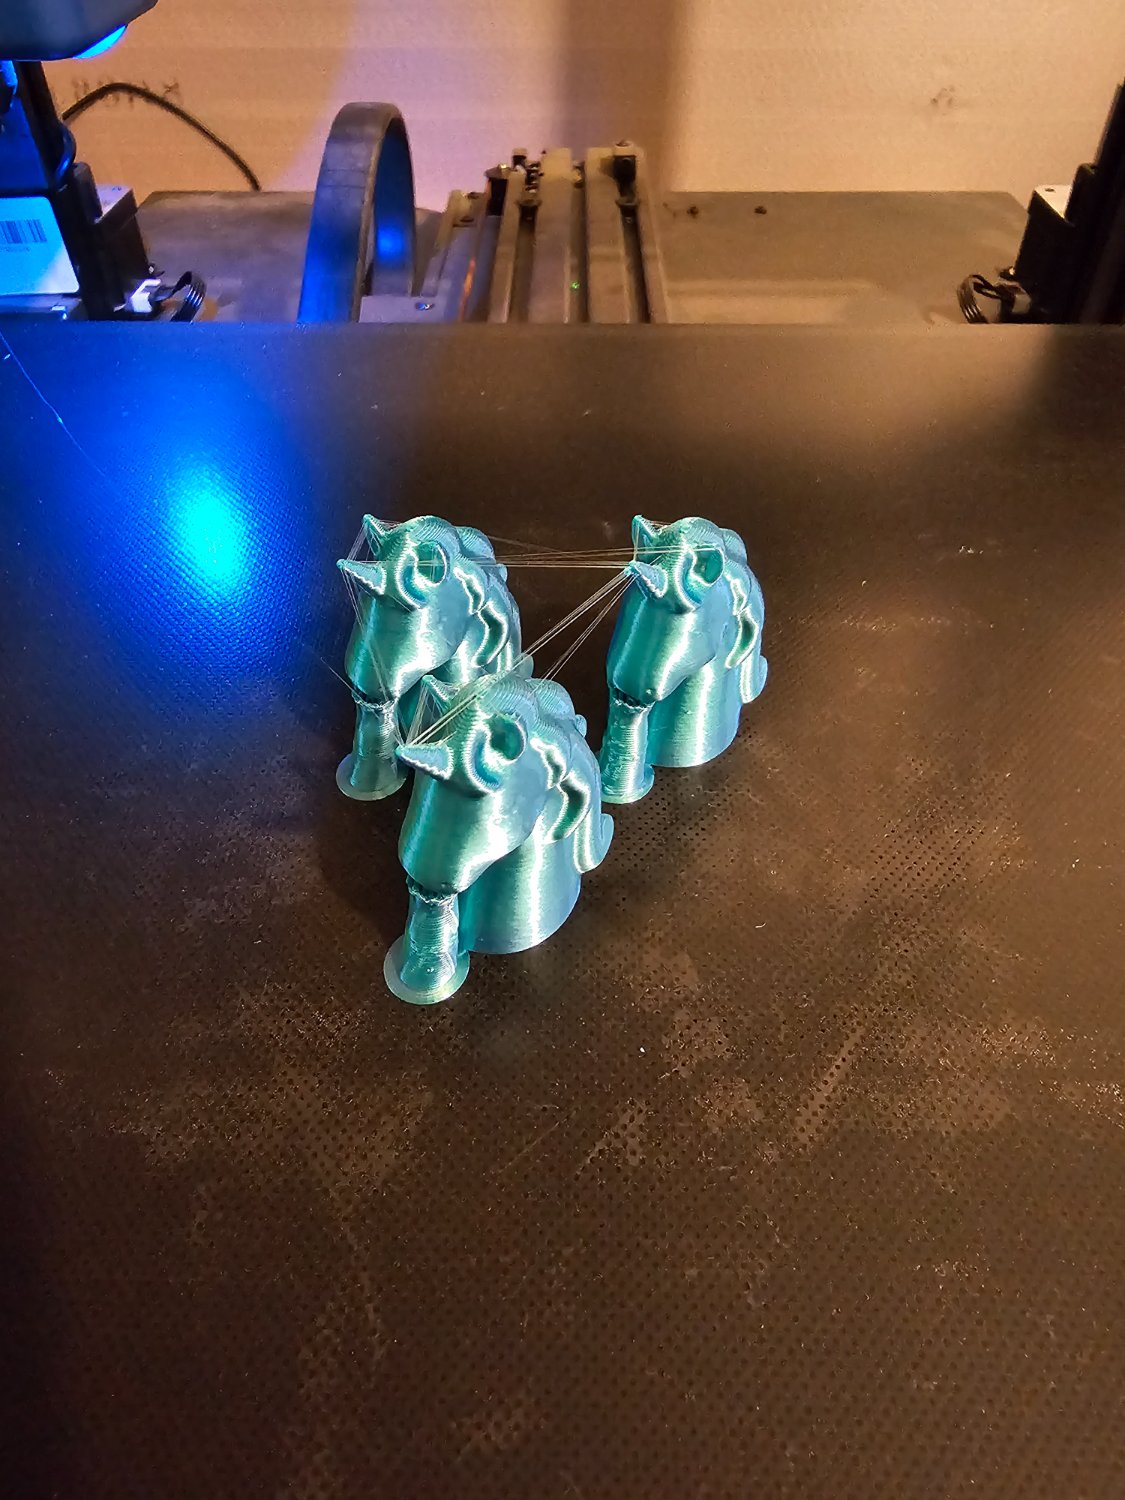
And here shows a bit of stringing between the small layers:
And how do you smooth that part of the print? By melting the plastic with a soldering iron?
I suppose that could be one approach, but i believe most people use sandpaper or a hobby knife (x-acto knife). Commonly followed by other post-processing (e.g. priming, painting)
It’s mainly a visual thing on my pieces, one can hardly feel it when your run your finger over it. I would like to get it a bit smoother, but haven’t been able to get it smoother with slicer settings yet.
Yeah, that’s normal. That’s the seam – where each layer starts/stops. Yours don’t look any worse than mine.
Sometimes you can tweak settings to reduce them a bit, but the only way to avoid them completely is to print in spiral/vase mode (which is very limiting: 1 contiguous perimeter, no infill).
More importantly: You can control where they appear on the part! Your slicer may have settings like ‘nearest’ , ‘random’, ‘aligned’, ‘rear’, or may have a way to paint on the part in the UI where the seams should be. Seams are clearly visible when they’re in the middle of an otherwise-smooth expanse like the side of your boat there, but are barely noticeable if you put them on a corner.
Ok thank you my guy ❤️
As the other use said, this is the Z seam and is pretty normal. If you look at the preview in your slicer, you’ll be able to see where they’re oriented. One trick is to rotate the part in the slicer so that the seam gets put in a hidden area or on a corner. In Cura, the Z seam will be the white dots on the print in the preview window and the default setting puts them closest to the back corner of the bed.
Once you get more experience and comfortability, you can mess around with these settings in Cura (like coasting, retractions, etc) or setup something like Klipper with Input Shaping.
🫶 Thank you for the answer