This post will go though how to build a simple email server to help you get an idea of what Cisco Packet tracer is and how it works.
First, open it up. Your workspace should be empty and your screen should look like this 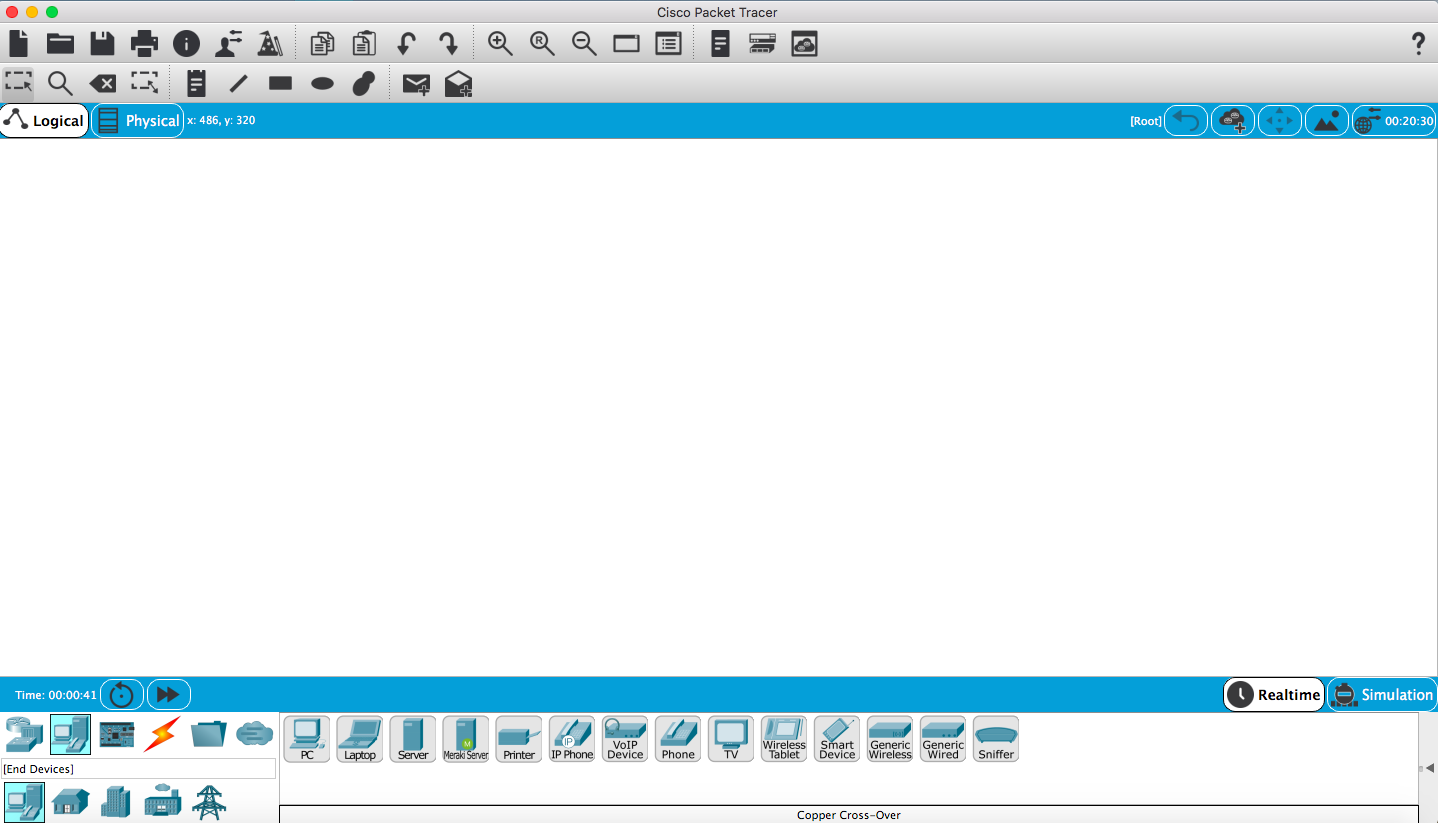
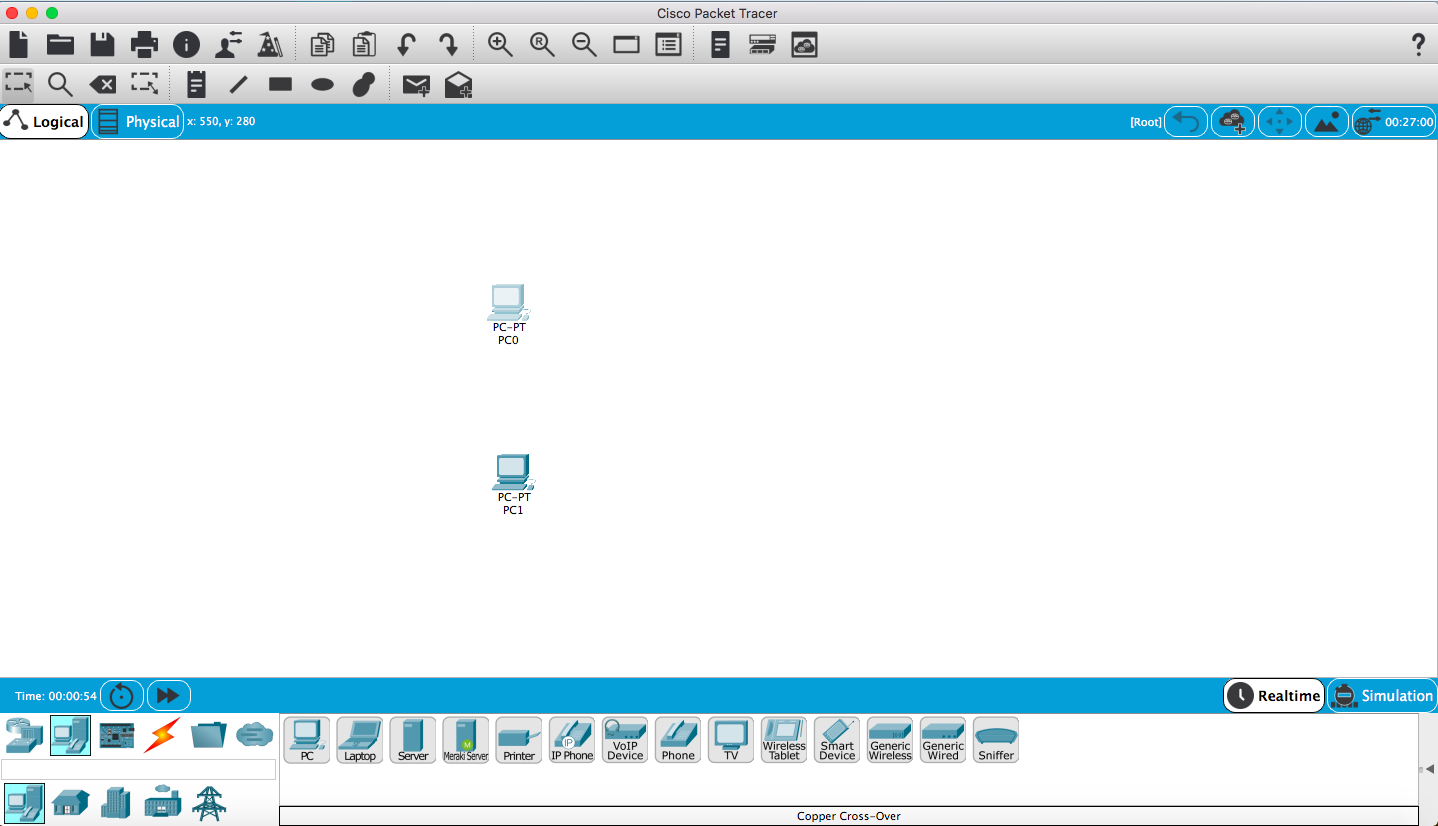
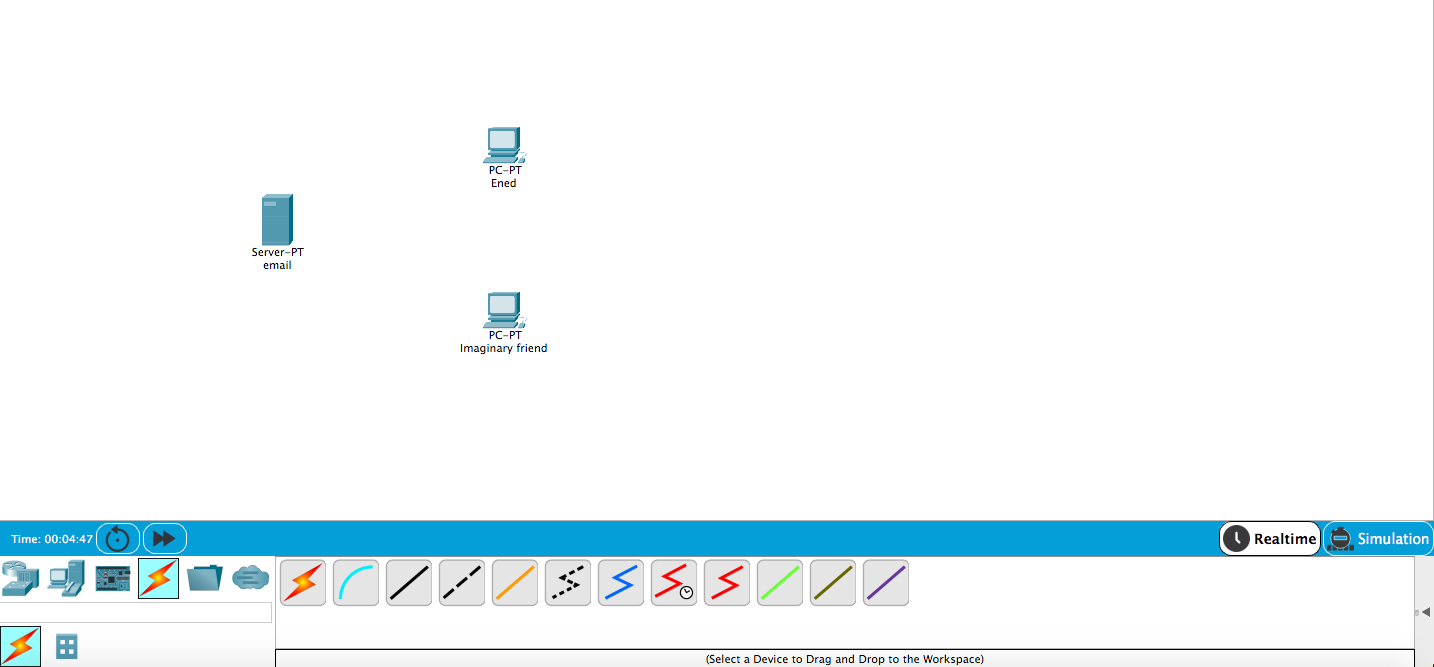
So if you want to send an email between two computers, the first thing you’ll need is two computers. At the bottom of the screen, go to ‘end devices’ and drag two PCs (personal computers) onto your workspace.
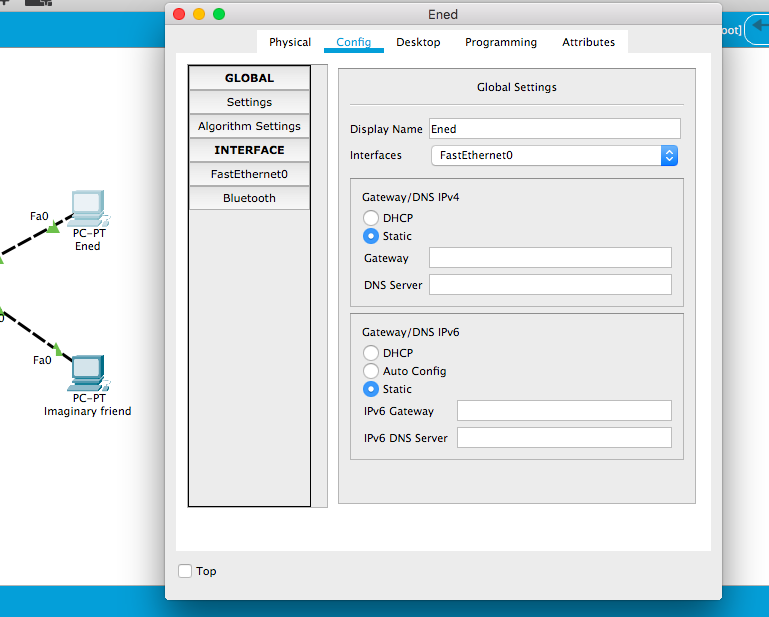
Click on the first one and you will see this 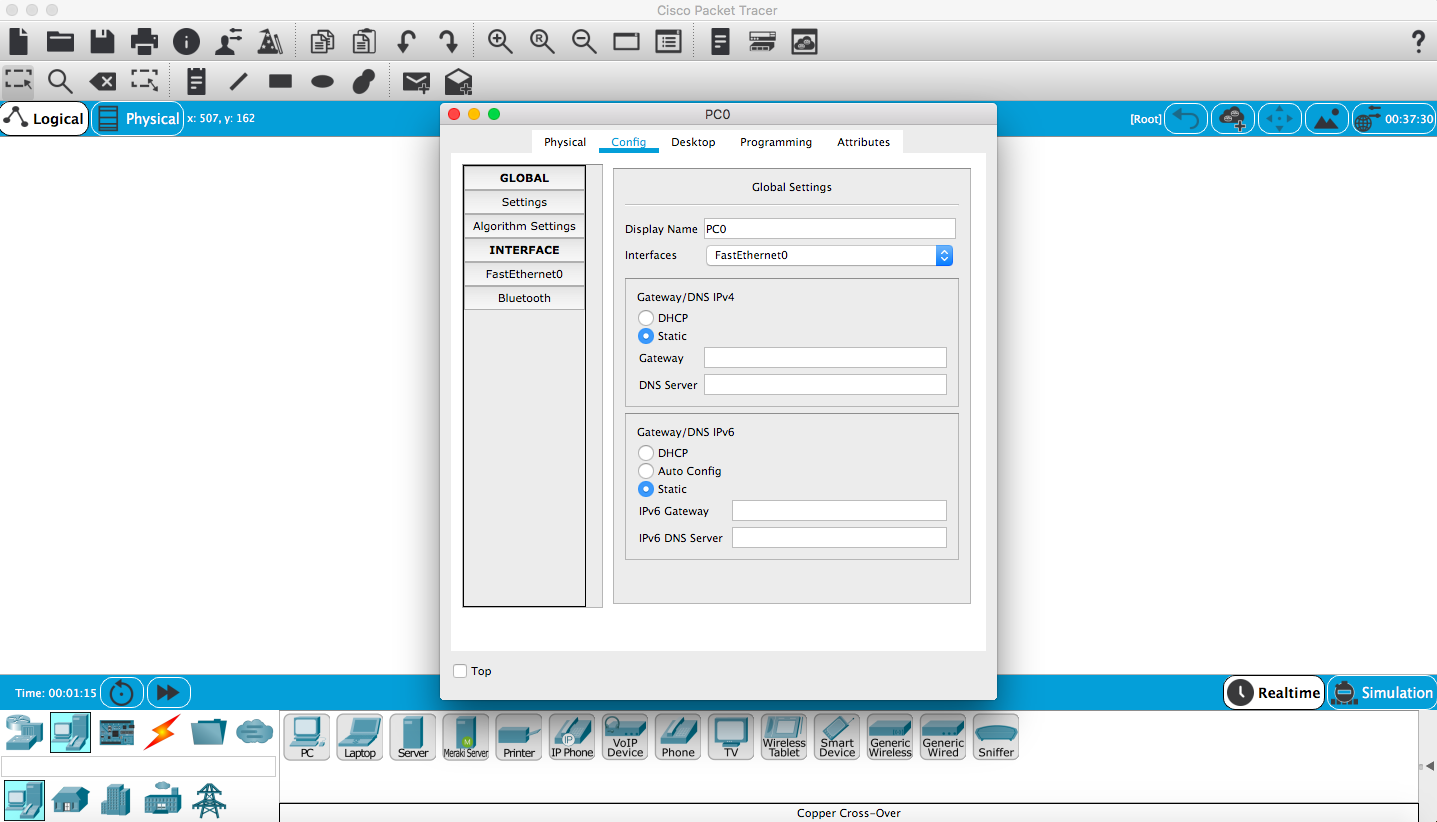
You should automatically be under the ‘config’ tag.
Where it says display name, give it an identifiable name. This is unnecessary, but it can help you stay organized.
Then click “fastethernet0” on the sidebar. That should bring you to this screen
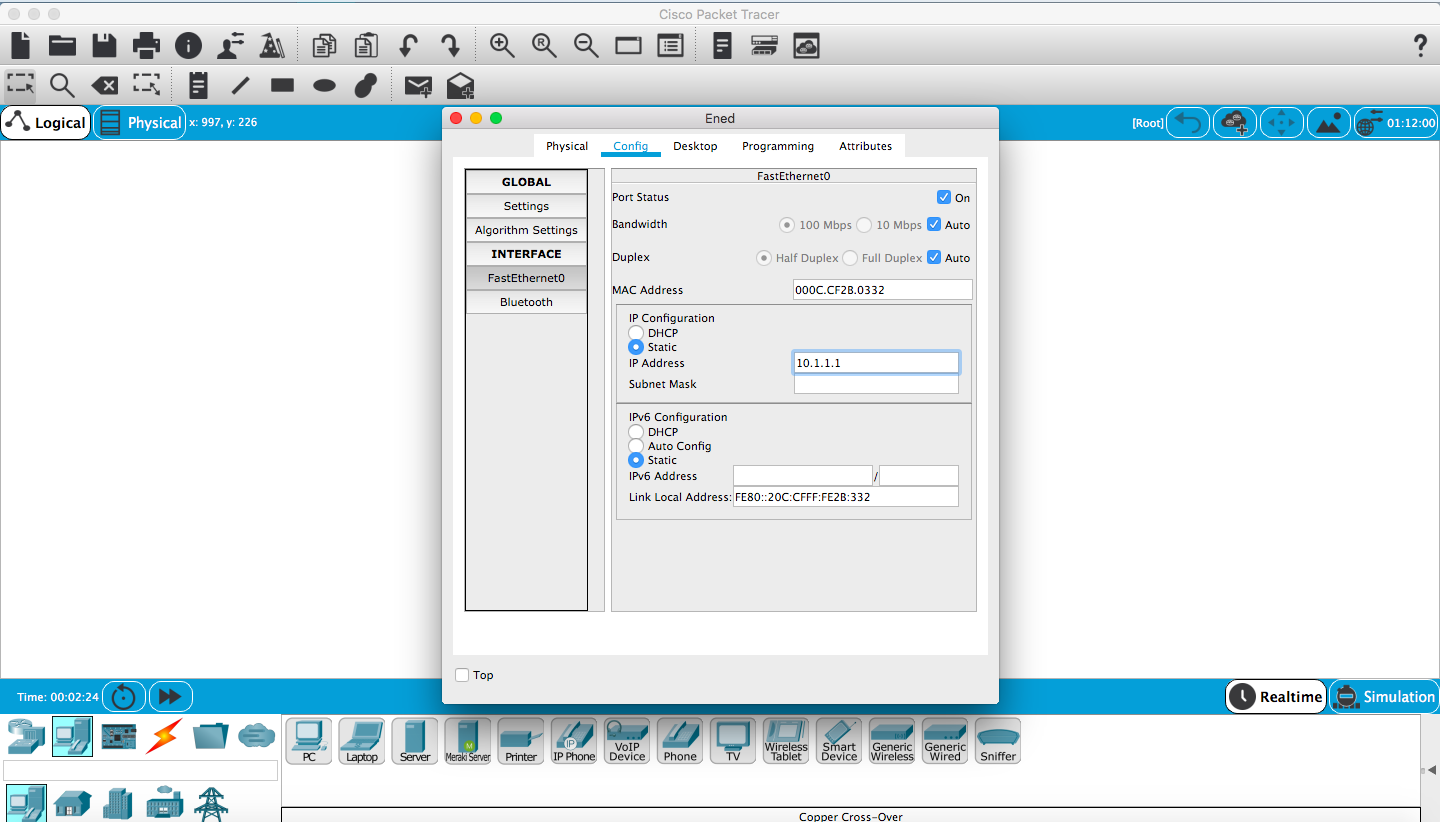
Your IP address section will be blank, so enter an IP (Internet protocol) that you will be able to recognize. Here I entered in 10.1.1.1
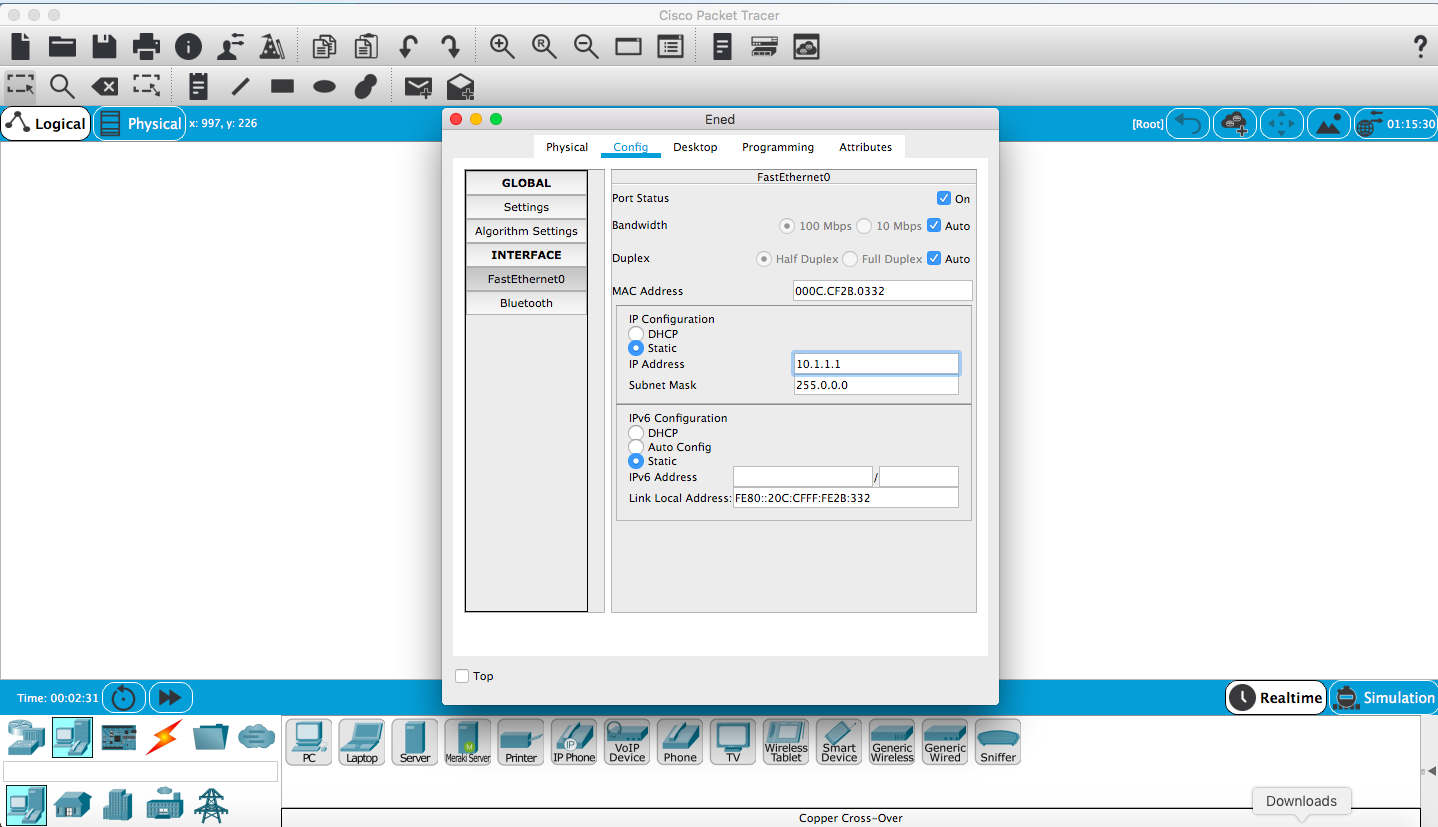
When you enter it, a subnet mask should be auto-generated
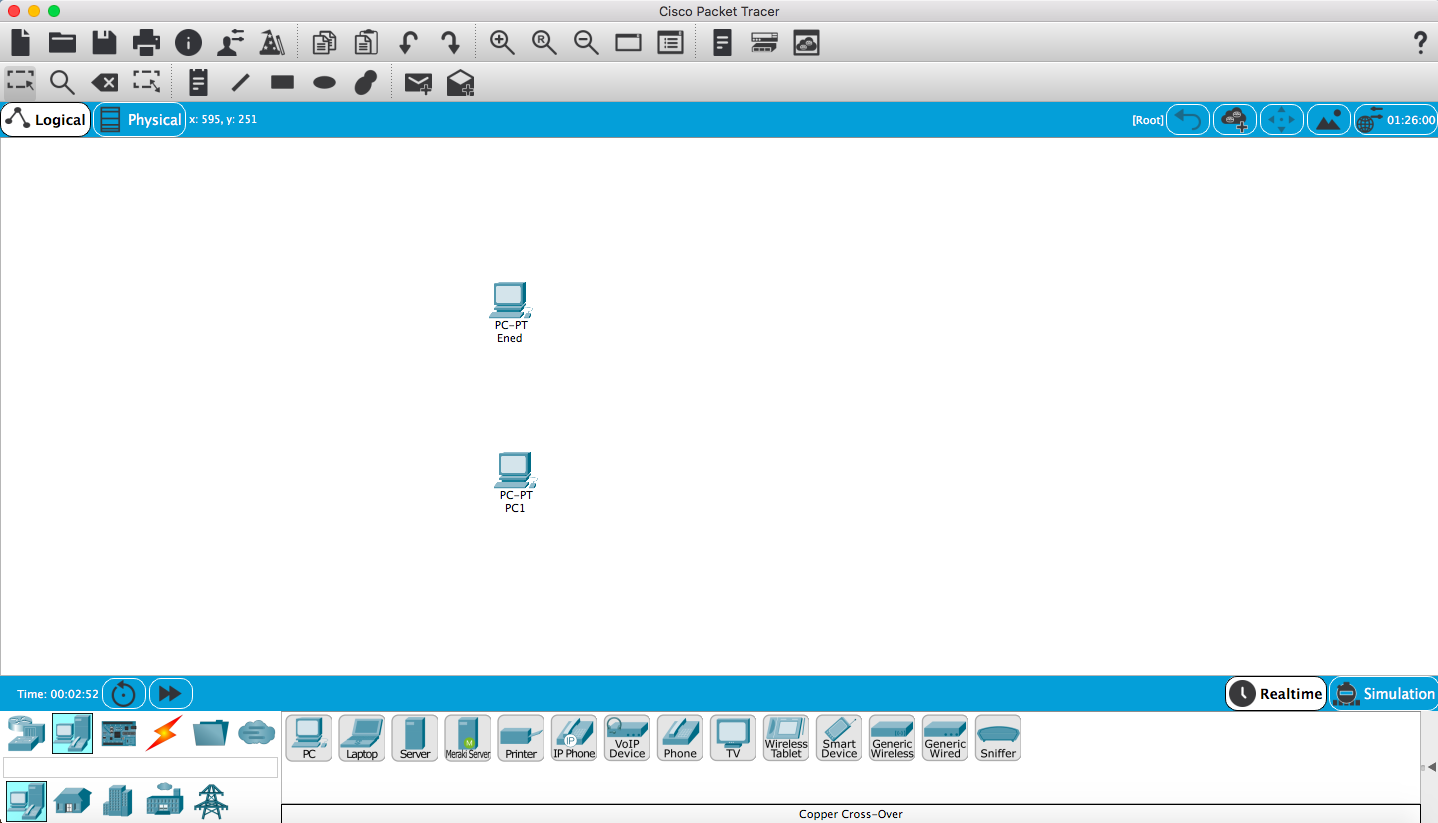
When you click out you will see the display name you chose visible underneath the PC.
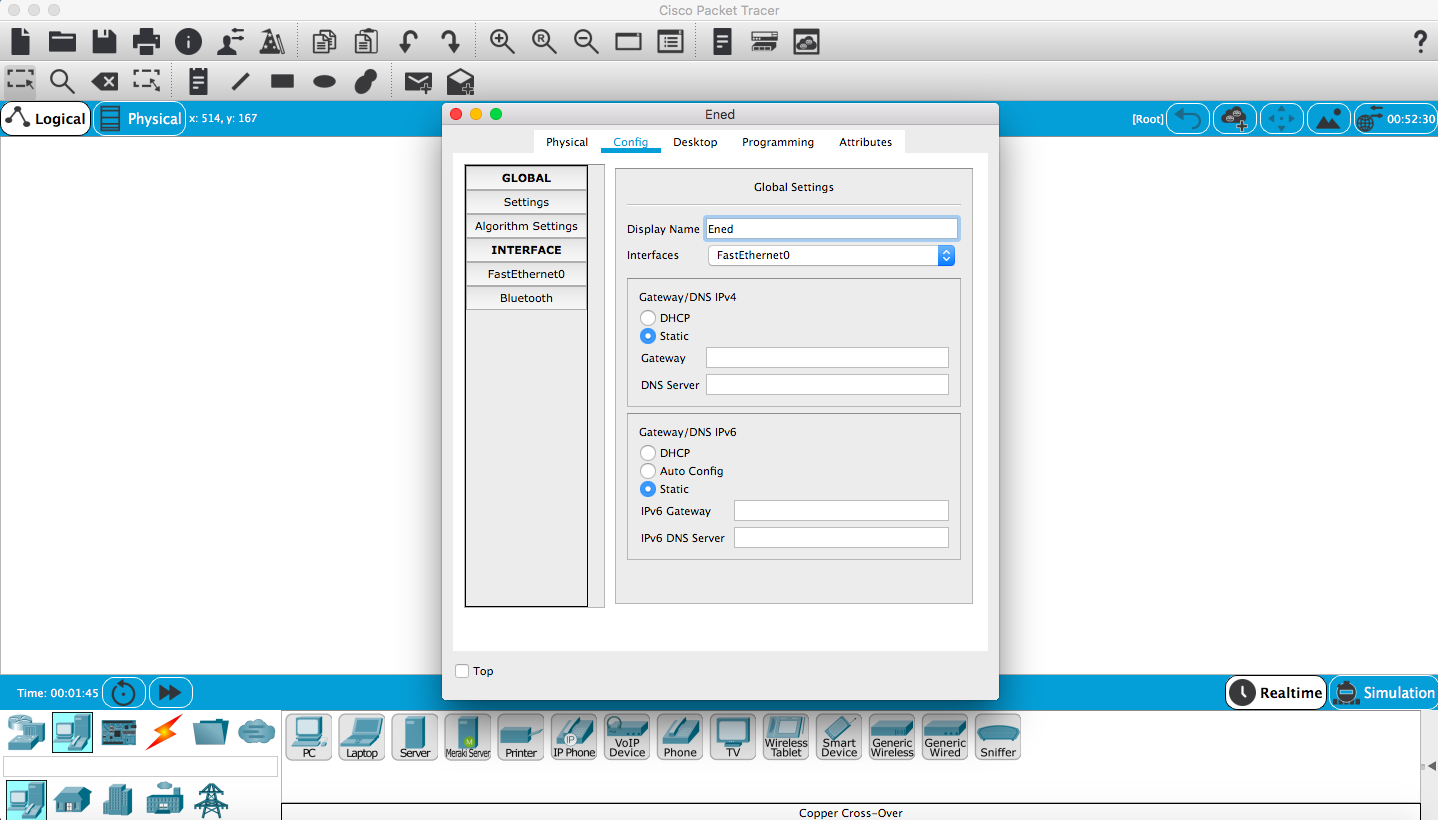
Repeat the same thing for the other PC, I configured the display name to be imaginaryfriend and the IP to be 10.1.1.2.
Okay, so now you have two PCs and you want to send messages between them. This is the fundamental problem solved by computer networks.
So what do you definitely need?
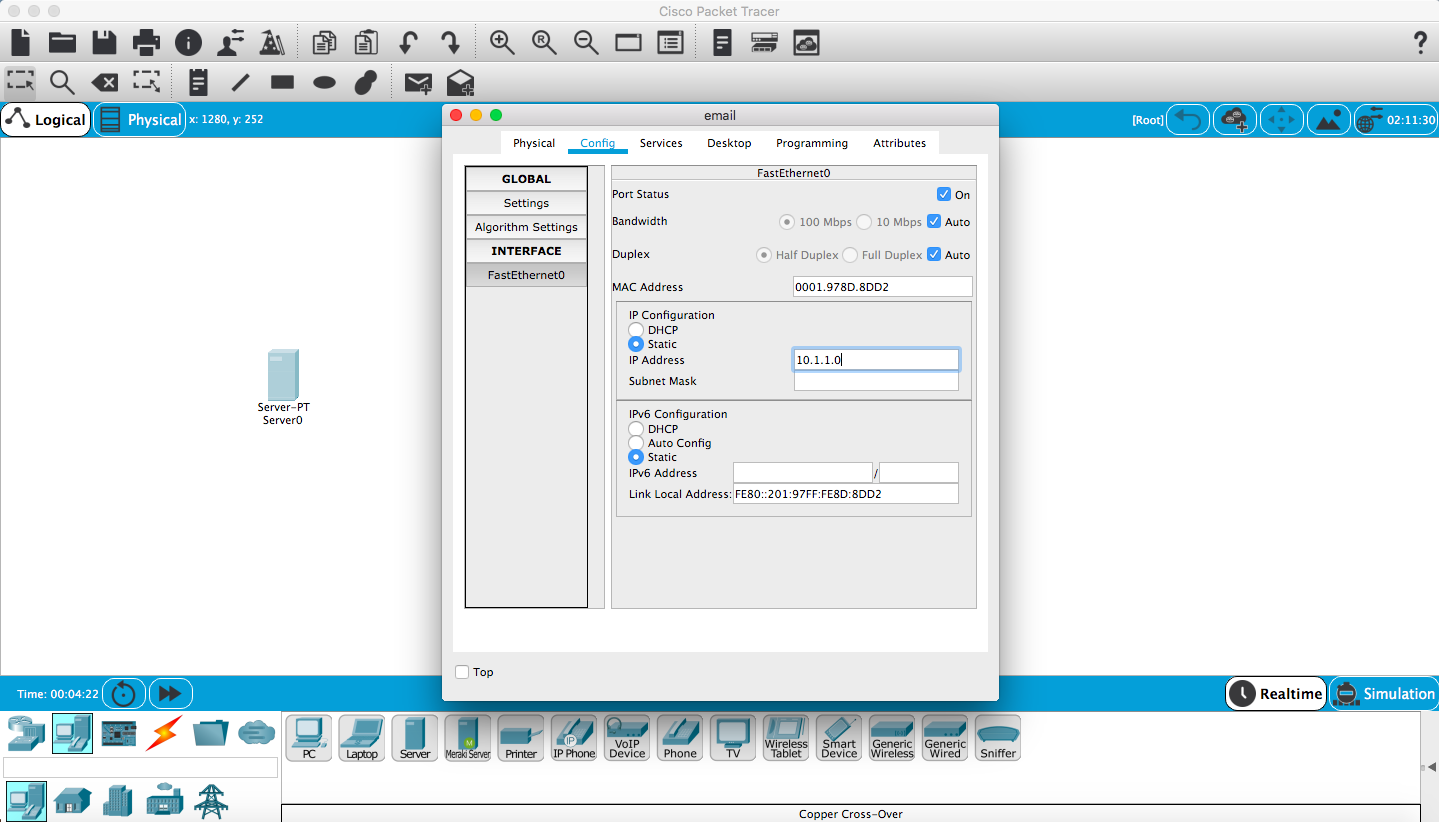
Well you’re making an email server, so you’re going to need a server. Drag on onto your workspace from ‘end devices’.
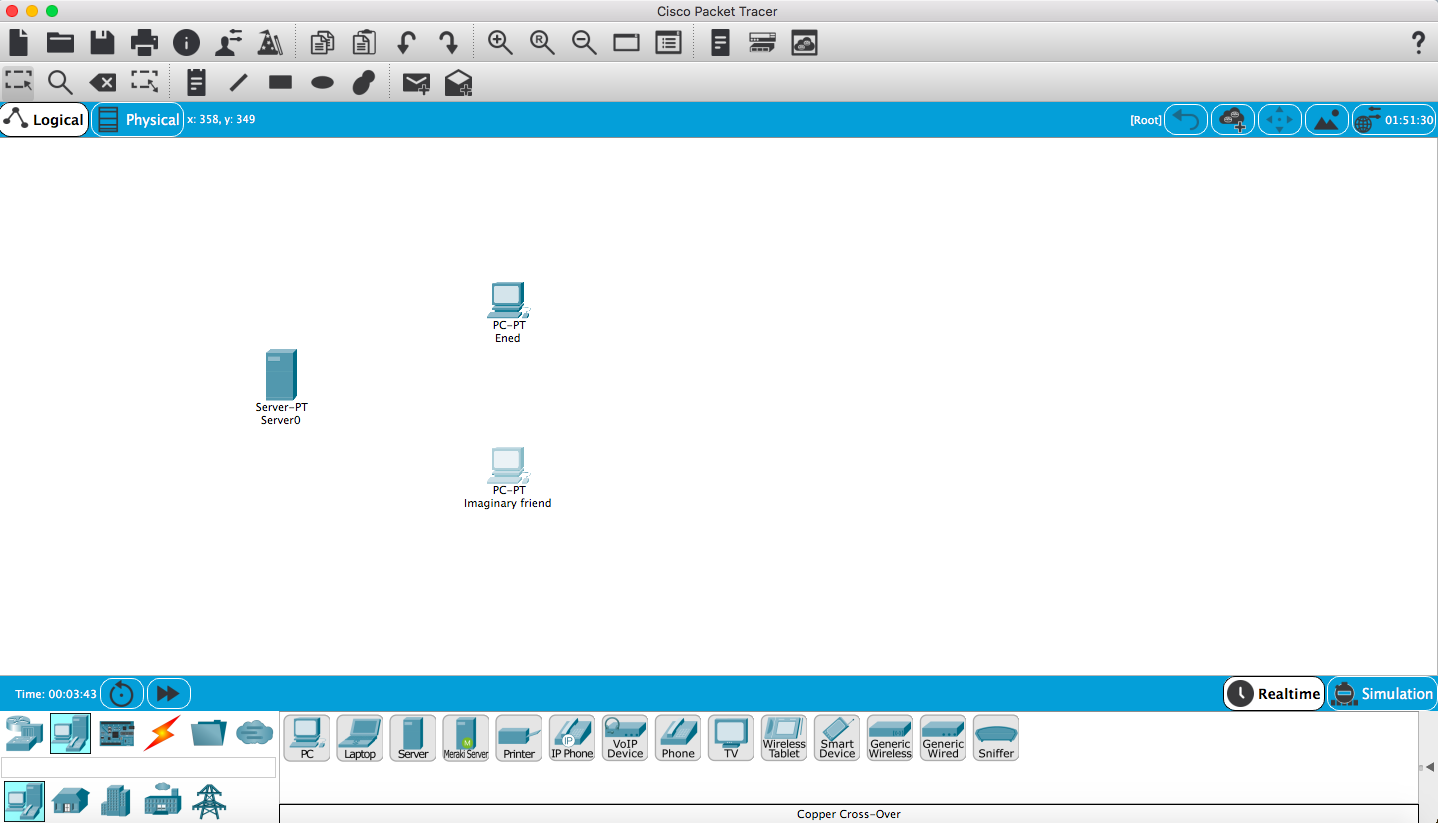
Just like the PCs, give it a display name and an IP. In this case I called it Email and gave it 10.1.1.0

So now that we have some computers and a server, let’s try connecting them
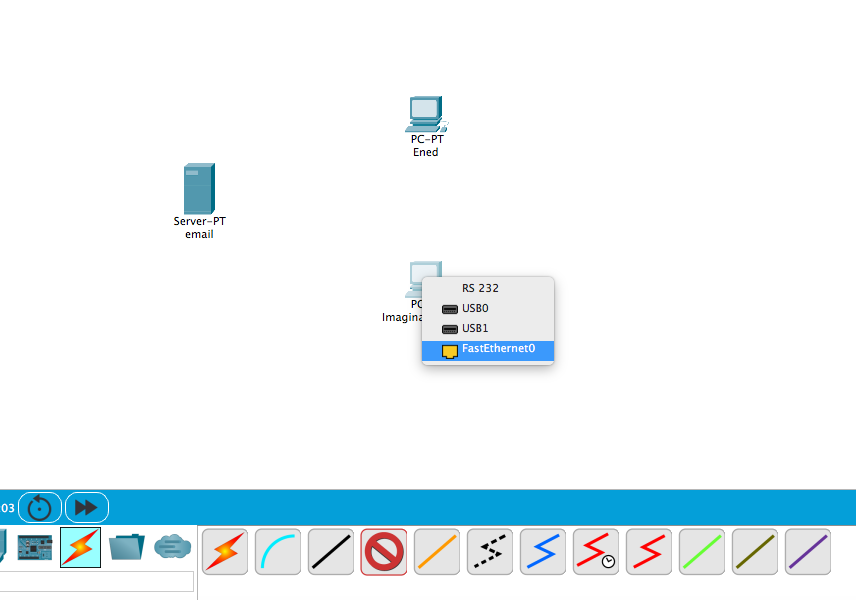
First go to your connectors (lightning bolt tab) and choose your “crossed copper wires”, we talked about those in a previous post.
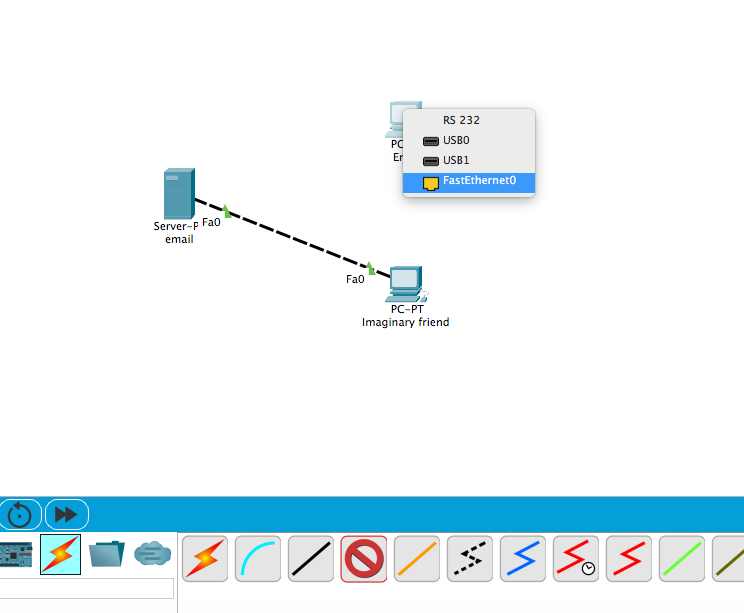
Connect ethernet to ethernet.
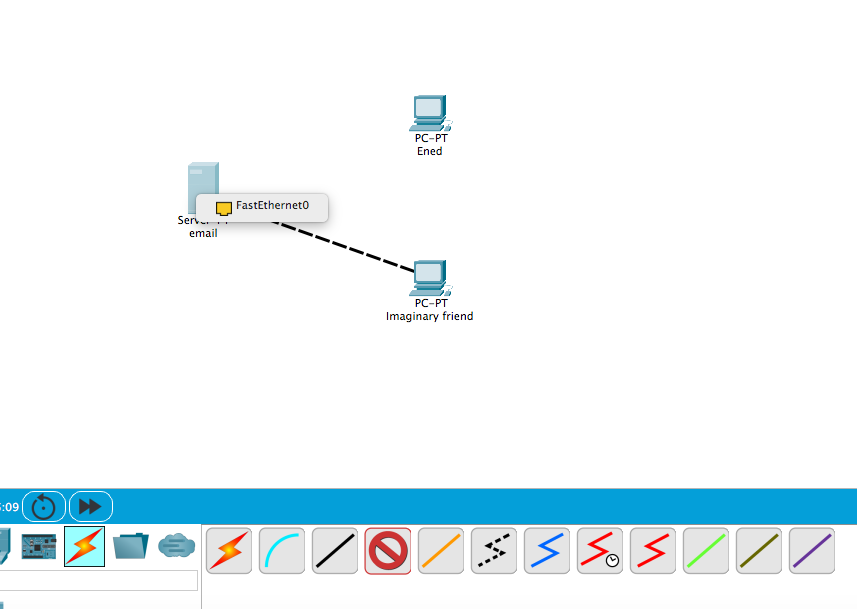
But look, you cannot connect two PCs directly to the same server
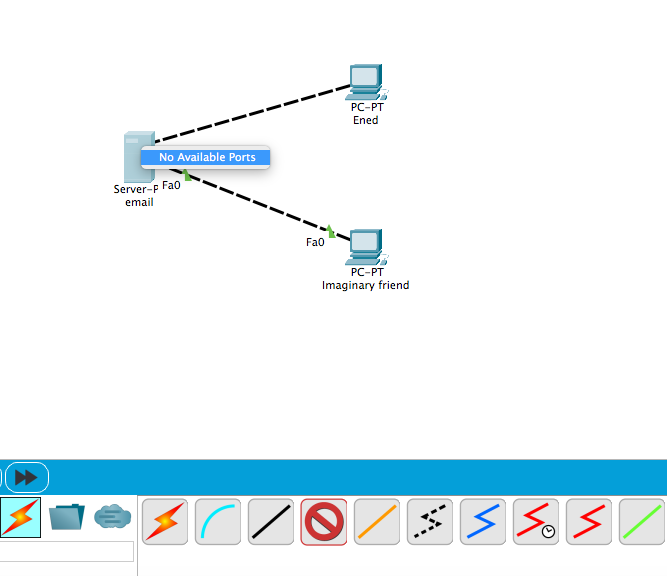
Now you need a "networking device*
More specifically, you need something called a switch. Switches connect clients to servers.
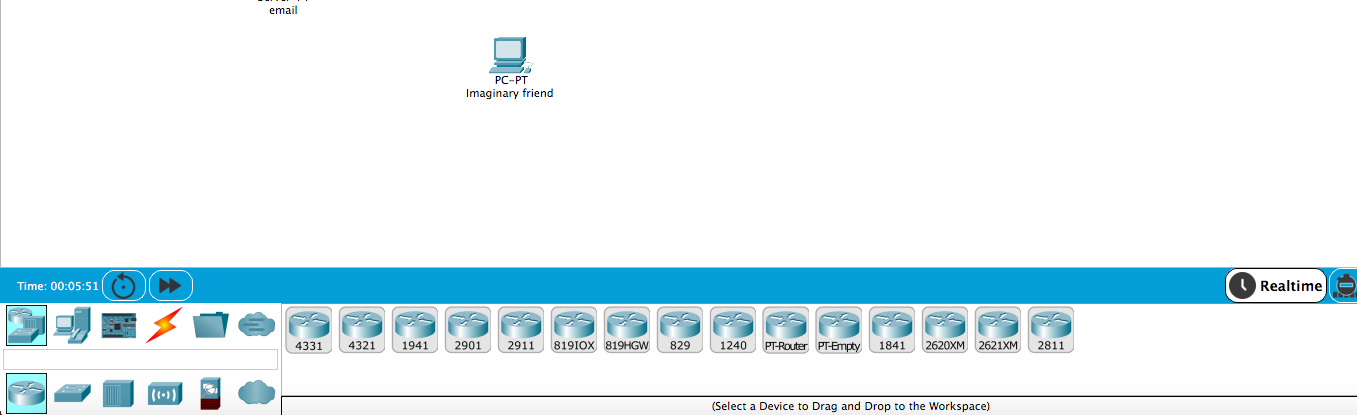
go down to network devices at the bottom of the screen and then find the switches.
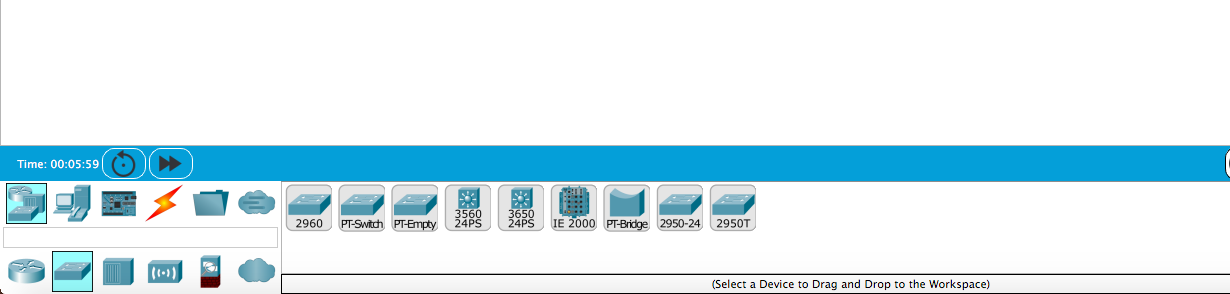
Than drag the 3560 multilayer switch between your PCs and your Server. Then connect them.
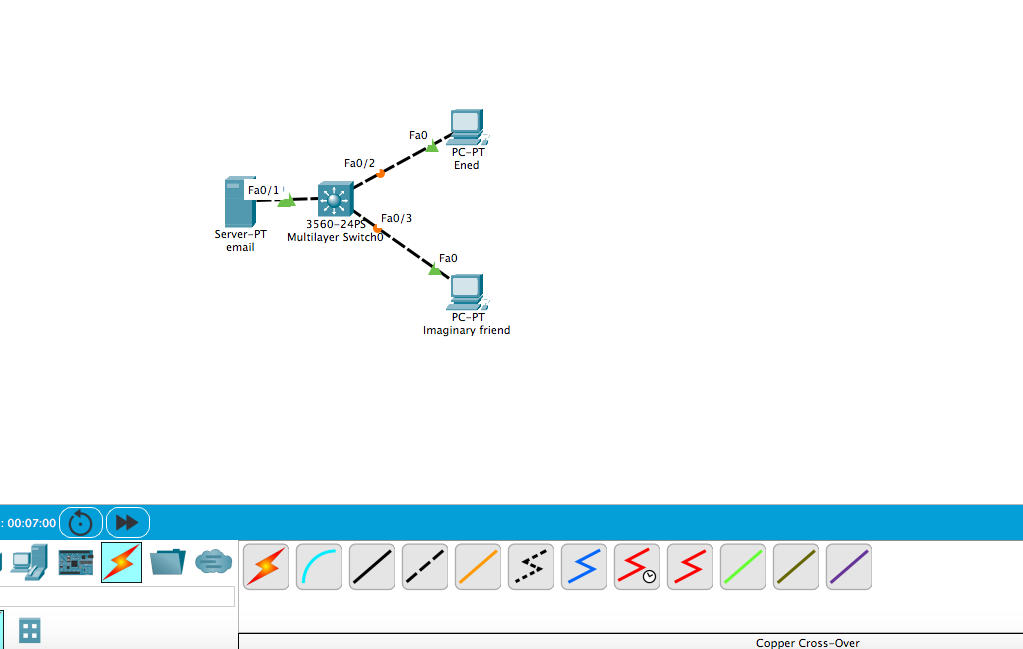
Now that all of your devices are connected, you need to configure your Email.
So servers and clients are different. A client is the device through which you access the services provided by a server.
But in order for these devices to communicate they must decide on a protocol. The server has different port numbers and on these port numbers it listens for a certain protocol.
So a client wanting to access http://germs.com would contact the server on port 80 or http.
We are using the email protocol in this example.
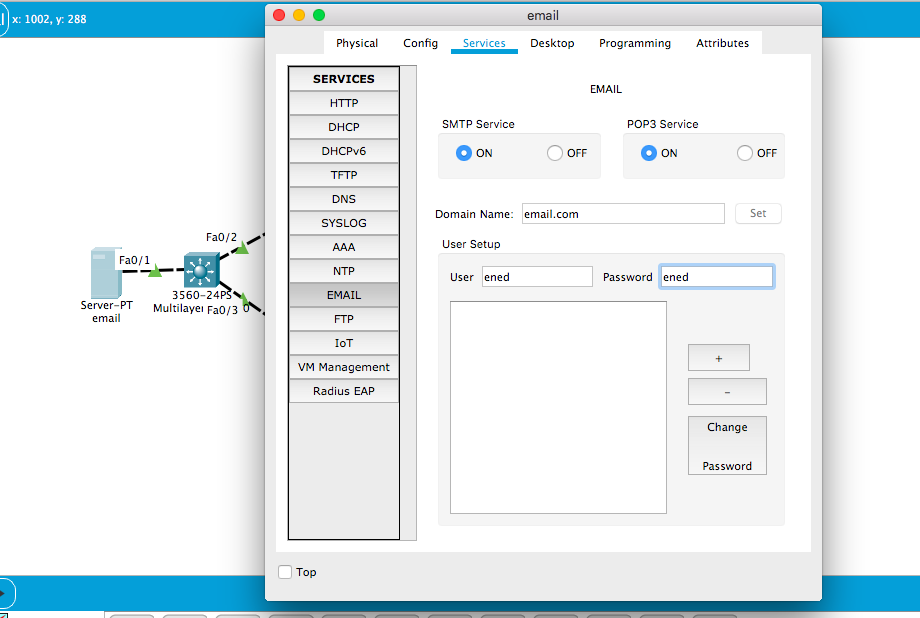
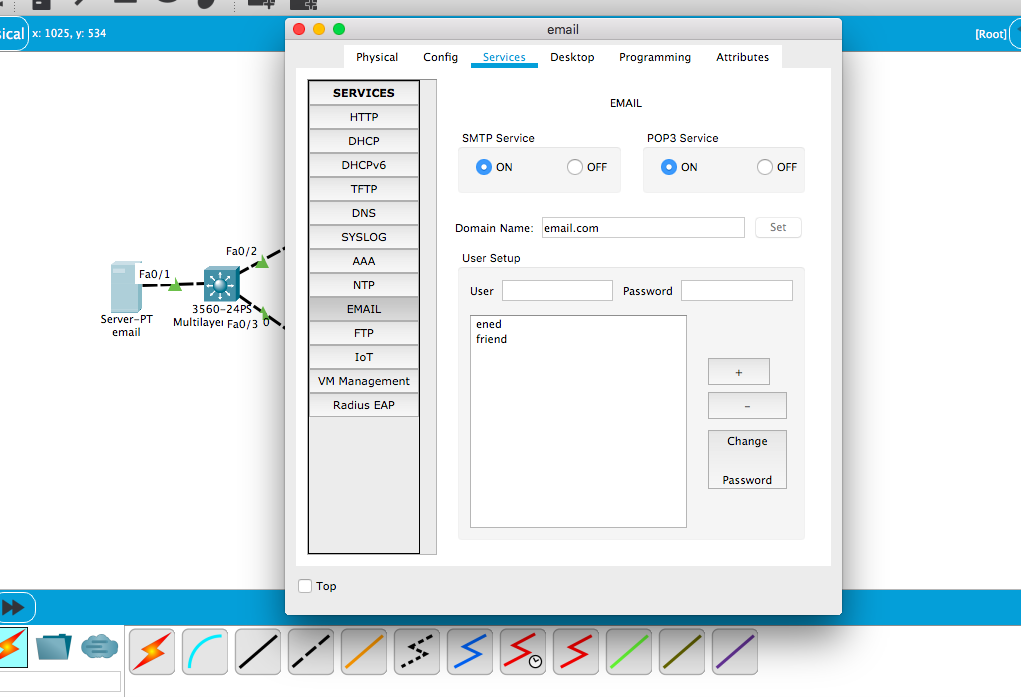
Click on the server and go to the services tab.
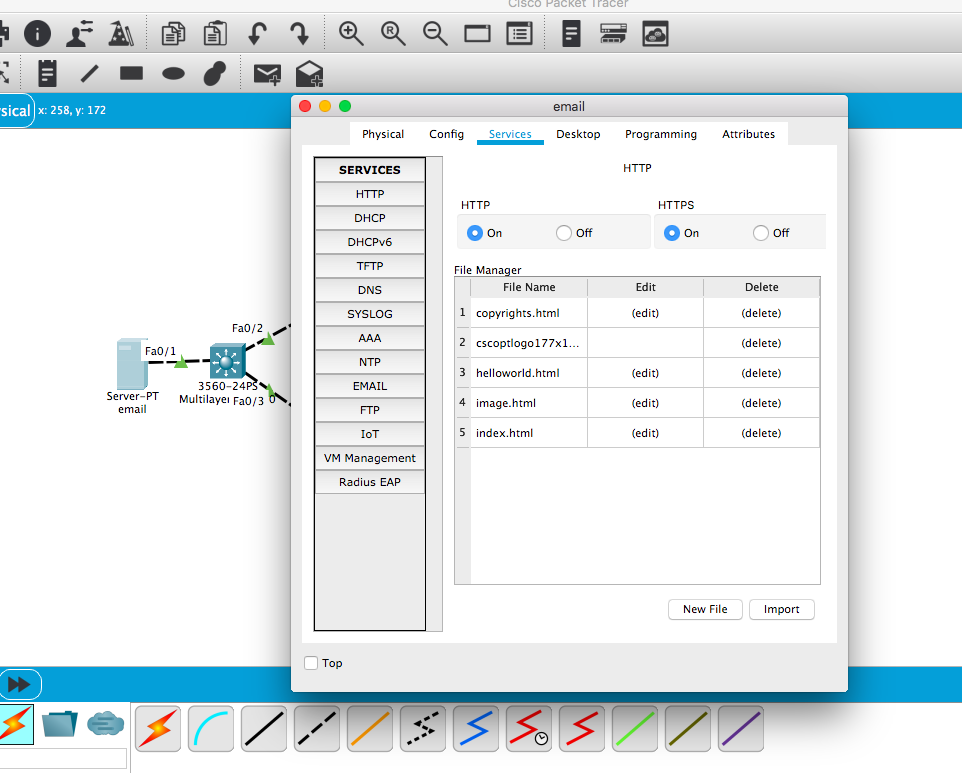
from the list of services (or protocols) choose ‘EMAIL’
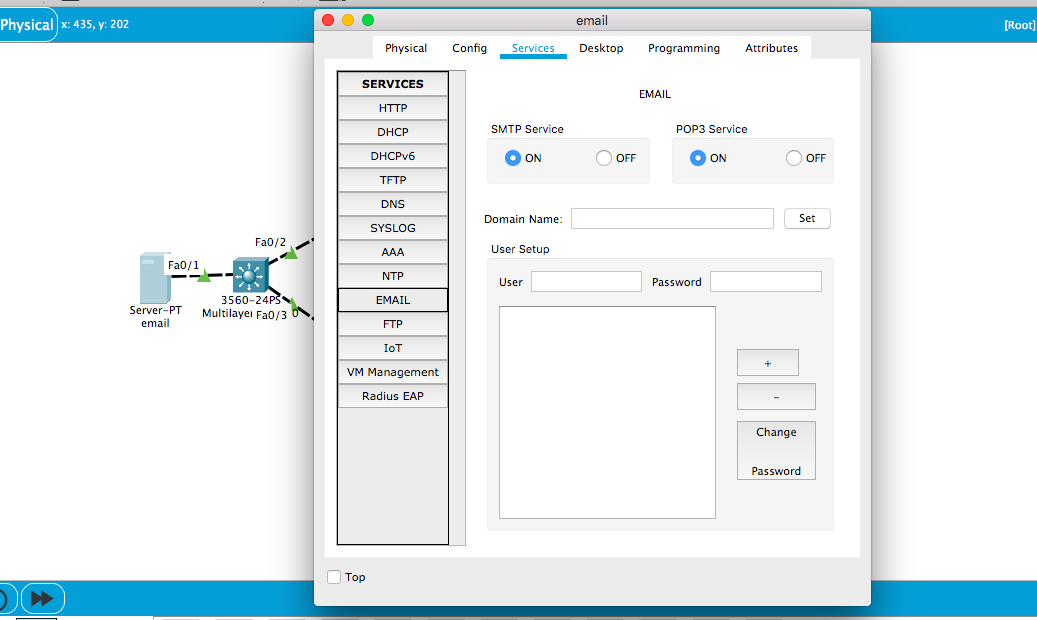
Enter any domain name in the domain name box (anything.com)
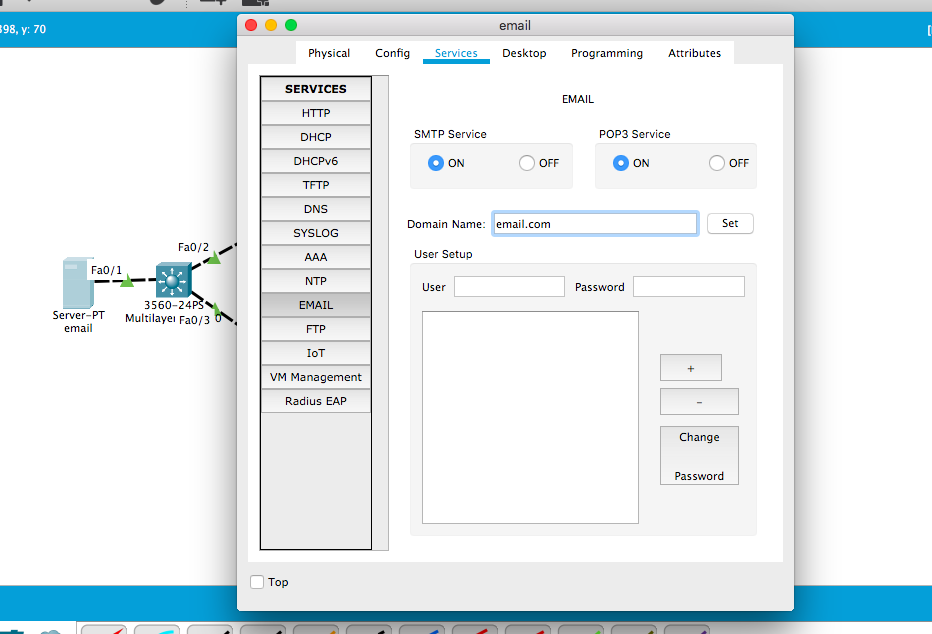
add two users (one for each PC)
Now exit the server and click again on your PC
go to the desktop tab and find email.
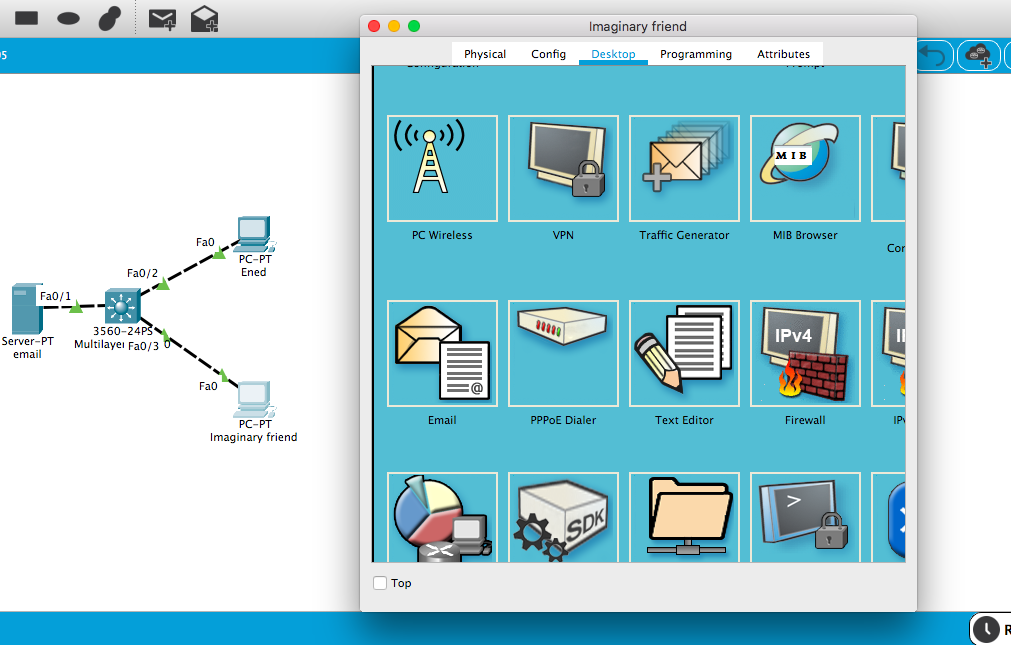
Click on it and it should take you to this screen
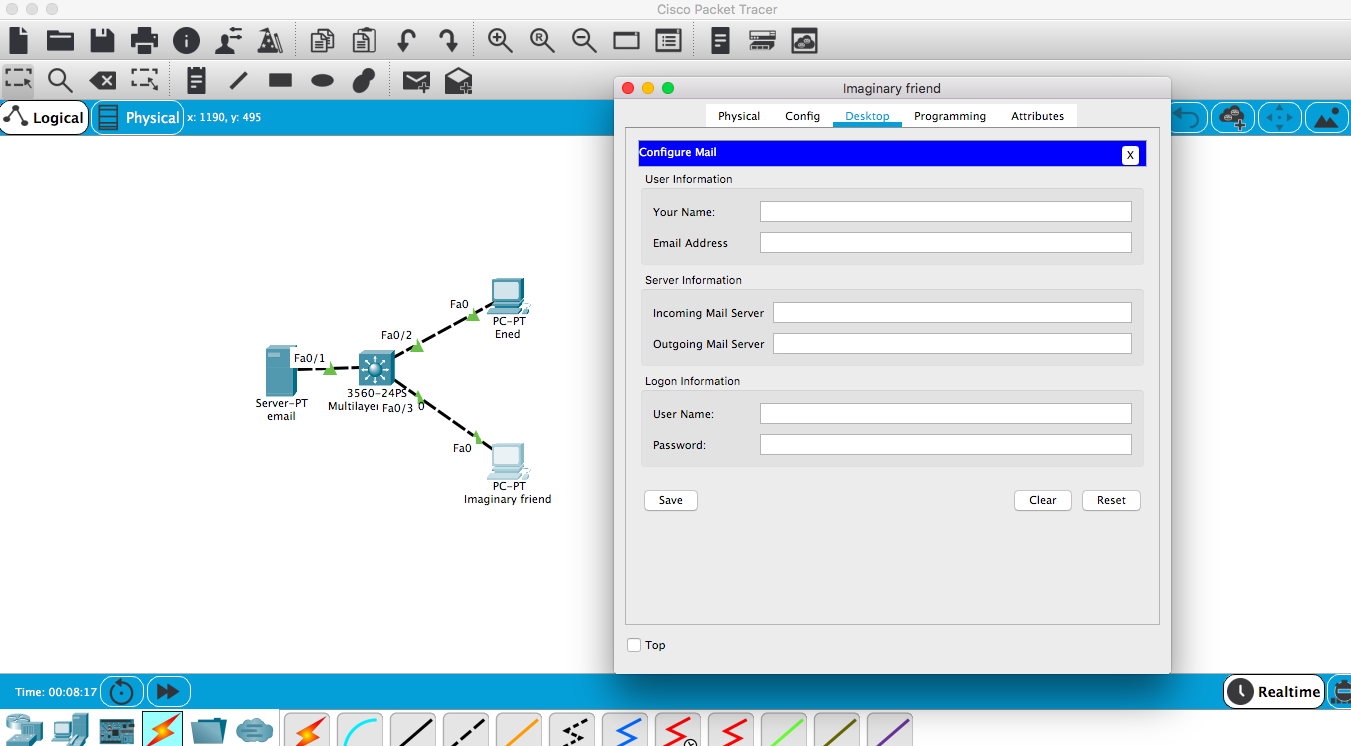
Enter in the information that you put on the server. Since everything is going through the one server the IP for out and incoming will be the same. It will be the IP of your email server
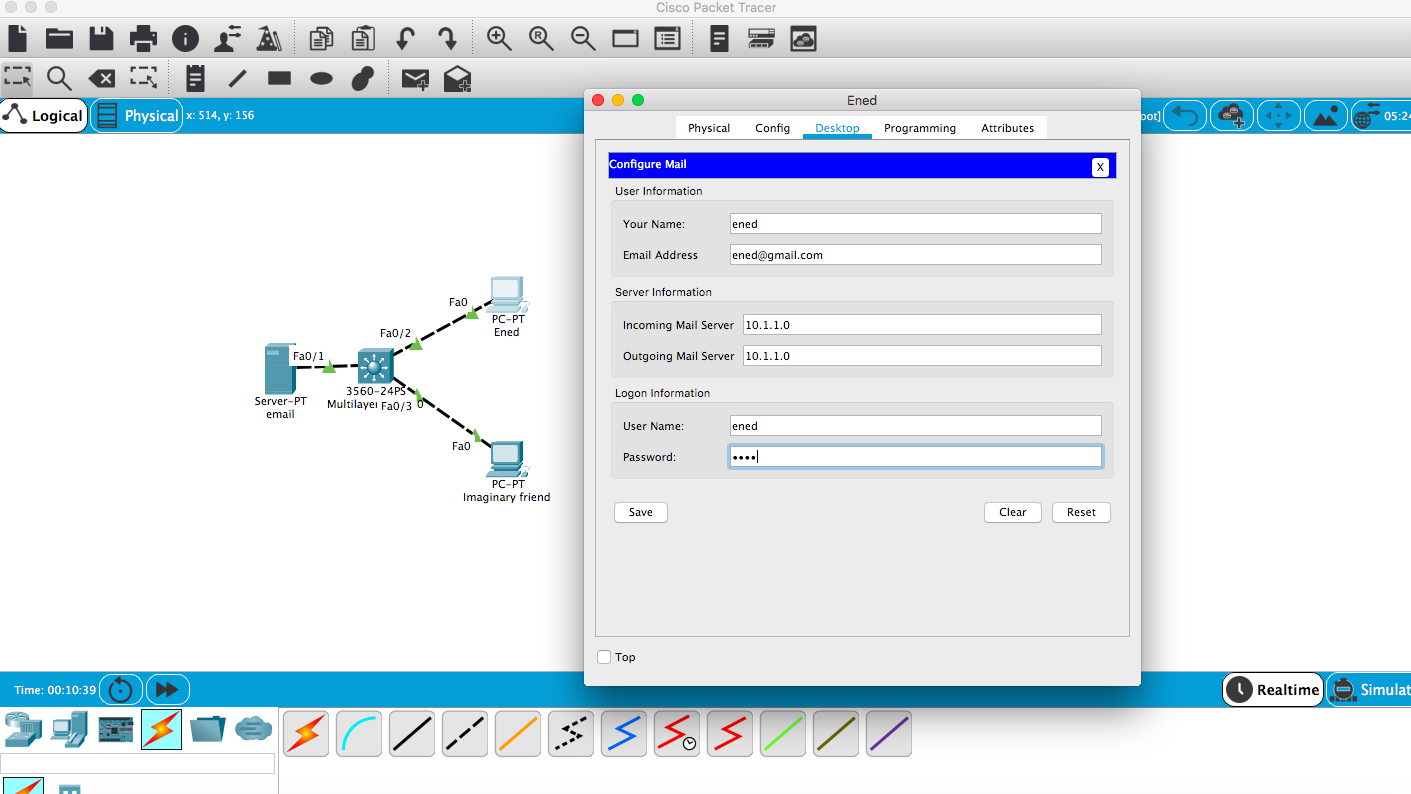
Do this for the other PC as well

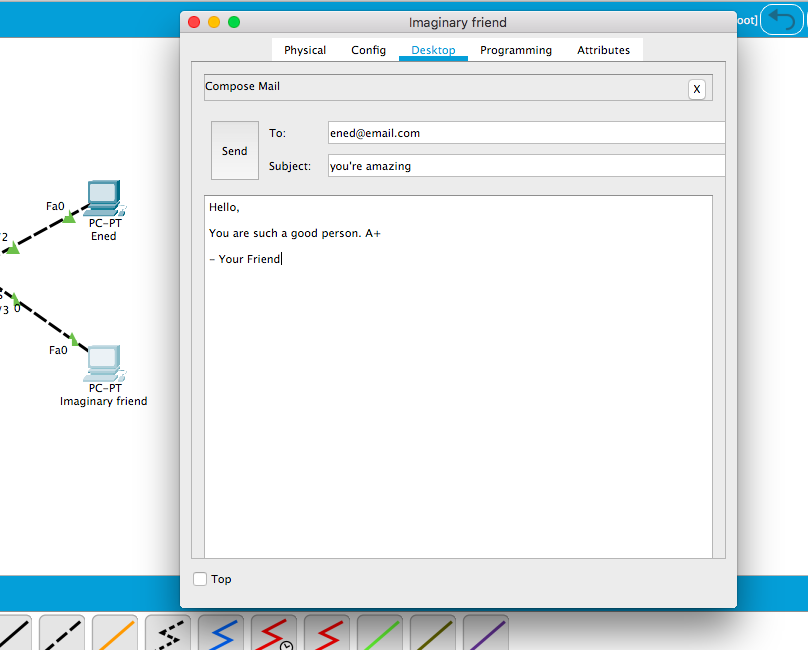
Now go through the desktop to email. You should find this.
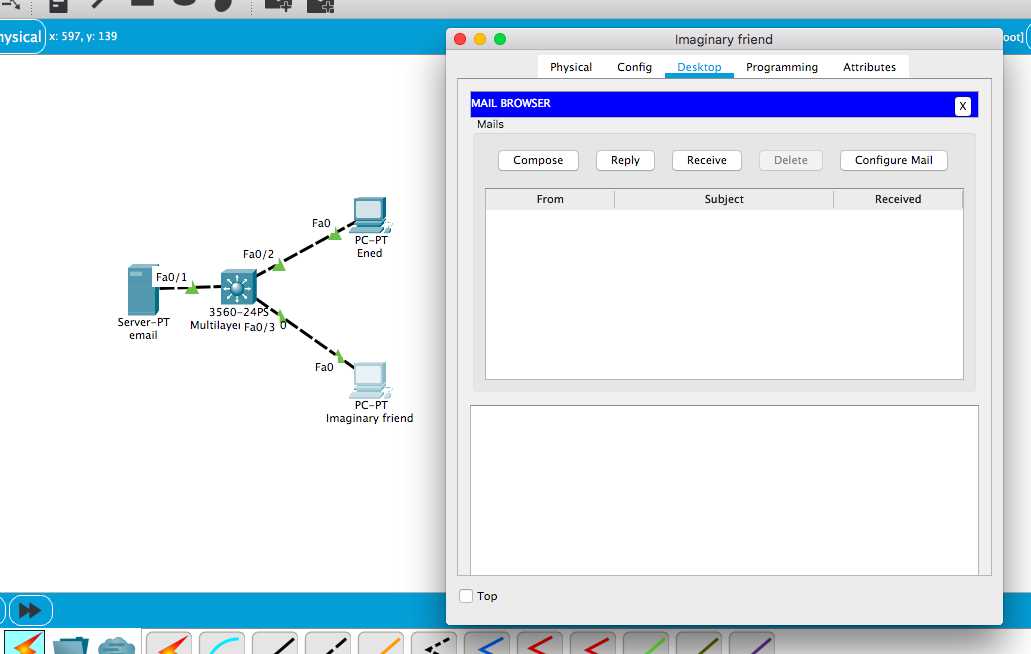
Click ‘compose’. it should bring you here.
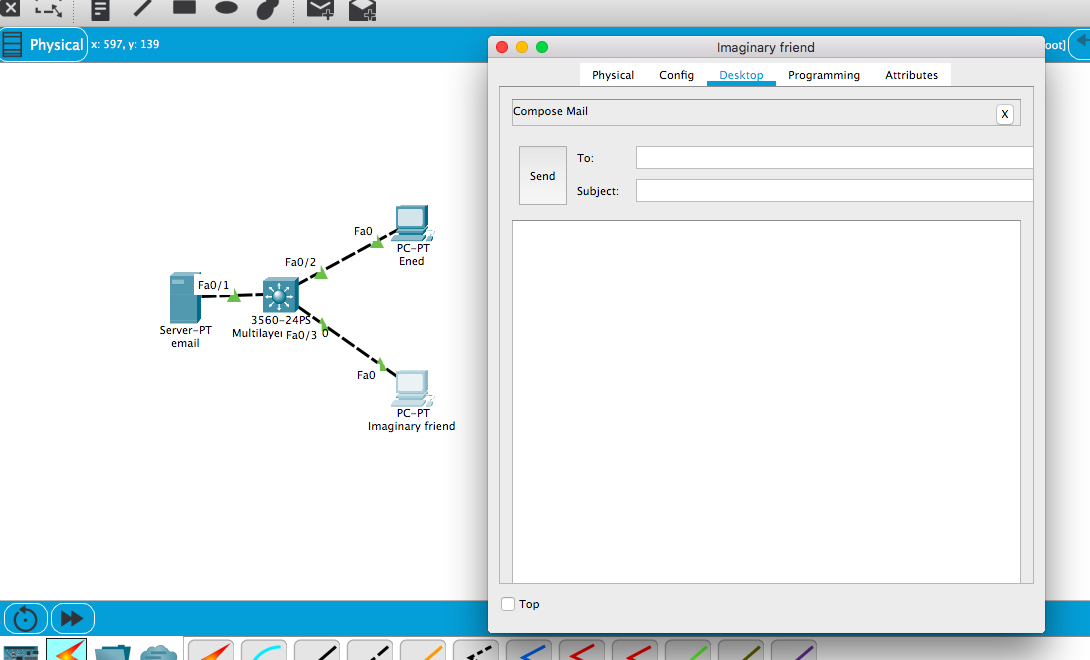
Now fill out the fields and send yourself an email.
Now go to the email of the other computer (to which you have just send an email)
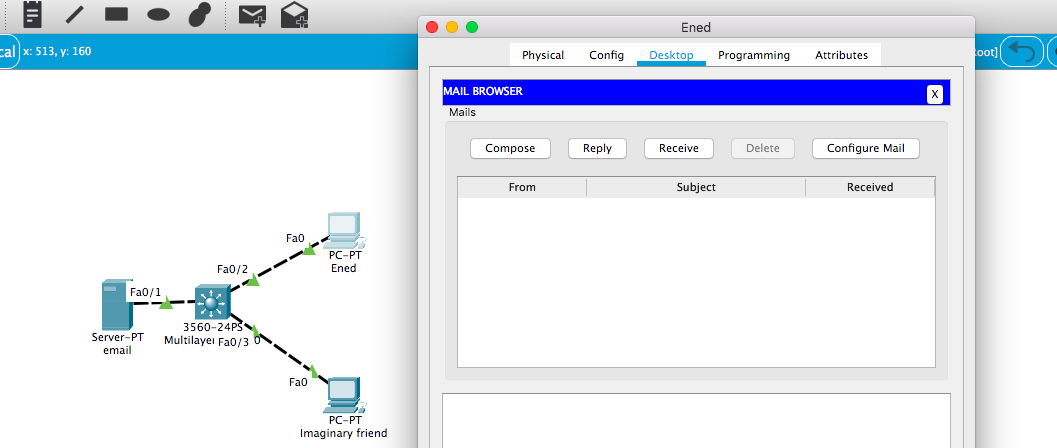
Click ‘receive’
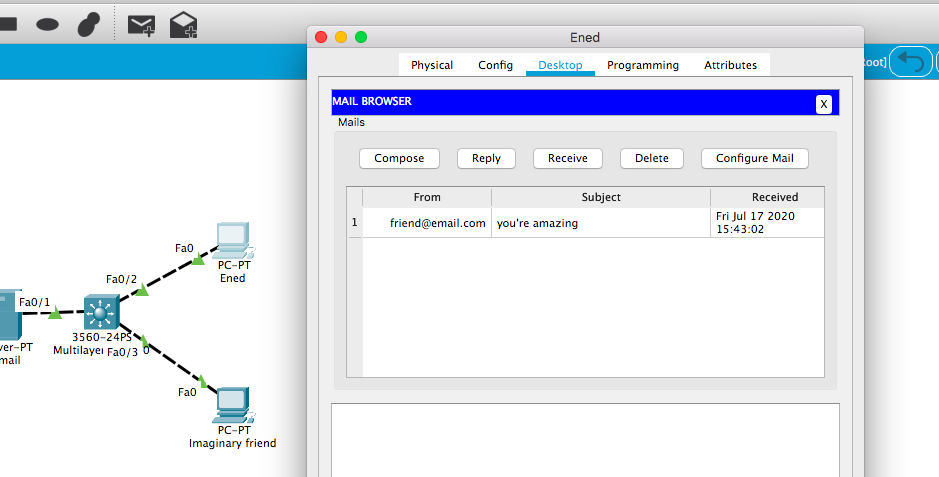
Click on your email to read it
That’s it. Keep in mind that all of these icons correspond to real, physical devices, which you can see if you click on the “physical” tab. In later posts I will talk more about protocols and port numbers.